Wholesale price stable quality Siway two component strength-basded ceramic tile sealant for Liverpool Factory
Short Description:
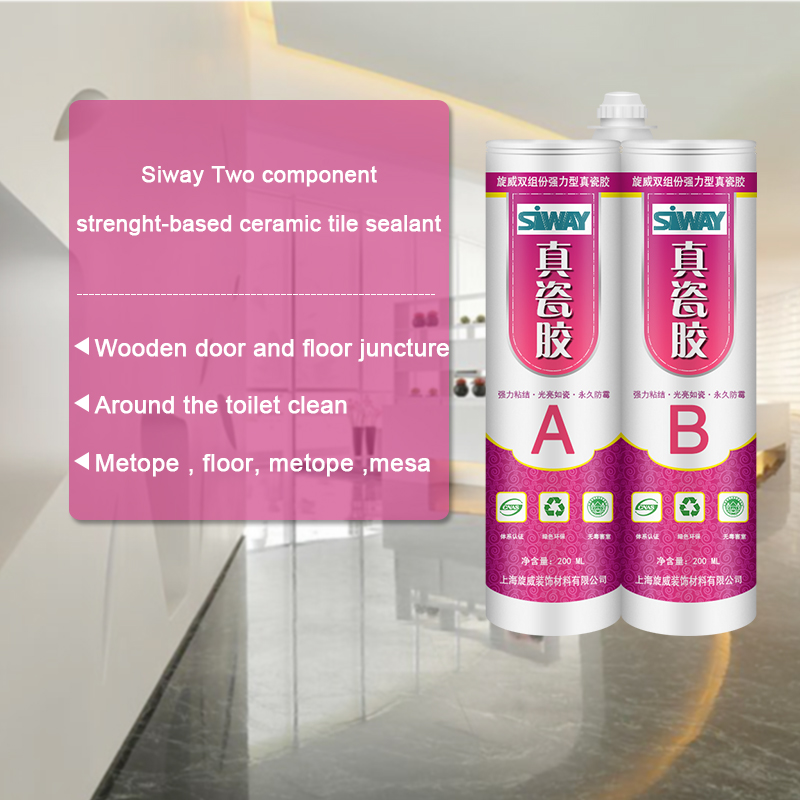
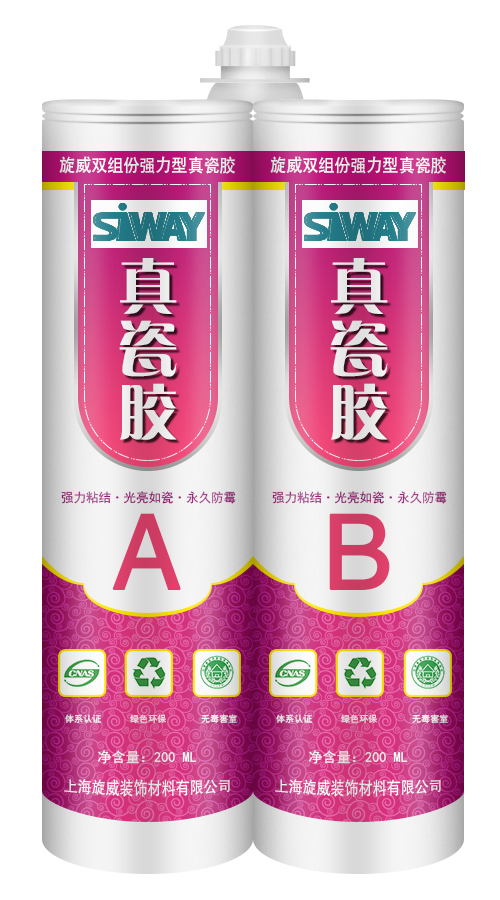
Product introduction Siway two component strength-basded ceramic tile sealant is an upgraded version of epoxy common beauty gap sealant, excellent toughness and impact resistance, surface brightness, such as porcelain, efficient, durable antibacterial mouldproof, waterproof sealing, 100% do not flow, construction simple, harmful index is far lower than the standard “GB18583-2008″ interior decoration, etc. Is widely used in high-grade kitchen, sanitary ware, high-grade family is de...
We enjoy a very good reputation among our customers for our excellent product quality, competitive price and the best service for Wholesale price stable quality Siway two component strength-basded ceramic tile sealant for Liverpool Factory, Let's cooperate hand in hand to jointly make a beautiful future. We sincerely welcome you to visit our company or contact us for cooperation!
Product introduction
Siway two component strength-basded ceramic tile sealant is an upgraded version of epoxy common beauty gap sealant, excellent toughness and impact resistance, surface brightness, such as porcelain, efficient, durable antibacterial mouldproof, waterproof sealing, 100% do not flow, construction simple, harmful index is far lower than the standard “GB18583-2008″ interior decoration, etc. Is widely used in high-grade kitchen, sanitary ware, high-grade family is decorated in joint seal and hotel decoration,, without excitant or unpleasant smell, in use process to bring you new construction concept and aesthetic effect.
Note: the position of construction
1, metope and floor, metope and mesa, and side beams and floor juncture
2, square face plate around the seams with mesa
Around 3, round face and mesa juncture, circular beams and floor juncture
4, around the toilet clean and floor juncture
5, wooden door and floor juncture
In 6, the tub edge or metope seams with mesa
Scope of application
1, window, furniture and so on, all kinds of counter aperture, cabinets, all kinds of edges, kitchen toilet all kinds of edges, can also be used to paste all kinds of hard materials.
In 2, the guesthouse, hotel, family bath crock, implement, sink, shower room and xiancai basins of installation, waterproof, plugging and other kitchen ware and decorative processing.
Method of use
1, clean the construction surface, remove dirt, oil and other impurities, then along the hem the ceramic tile with crepe paper.
2, mount rubber mouth, combined with glue gun, glue mouth mouth before the glue to glue on the glue, the glue liquid located in cement mix, edging out front a small amount of adhesive solution, in order to avoid mixed uneven, lead to not curable, and then into the ceramic tile aperture.
3, scrape to evenness with blade, slight trim the edges.
4, this product operation time 30 minutes, 4-6 hours at 25 ℃ room temperature curing, 24 hours of maximum intensity.
UTVHitchworks.com – Welcome to UTV Hitchworks, Home of the Farmboy. In this video we are demonstrating how to install the Bulkhead Bed Extension for the Kubota RTV-X series vehicles. The first step is to raise the dump bed. Please follow all safety precautions while the dump bed is in the up position. The Bulkhead Bed Extension requires a drill fitted with a 3/8” bit, a 12mm socket driver or a 12mm socket, and a 12 mm wrench. Once the dump bed is raised, take the socket driver and the wrench and remove the two top bolts on the dump bed. This step must be completed on both sides of the dump bed. Make sure the bottom bolt is left in place on both sides. Next, place the Bulkhead Bed Extension into position, lining up the two holes on either side. This step may require more than 1 person. Install the Bulkhead Bed Extension so that the writing is able to be read from behind the vehicle. Reinstall the bolts previously removed through the dump bed and the Bulkhead Bed Extension. Make sure that all four bolts are installed in the same orientation in which they were removed. Once all four bolts are in place, tighten them all fully using the socket driver and wrench. The final step is to drill through the wall of the dump bed using the drill fitted with the 3/8” bit while the bed is still in the up position. Align the drill with the hole in the center of the Bulkhead Bed Extension. The holes on either side of the center hole are optional, if more rigidity is required. Lastly, insert the provided carriage bolt so that the carriage head is on the inside of the dump bed. Tighten fully. The completed installation should look like this image. For questions on installation please call 513-260-3705.
price: 5.2-8.4usd/kg
more information, pls feel free to contact Caroline
office no. :0086-0755-89948019
Skype: cathy1990719
email: hysf@szrl.net
Shenzhen Hong Ye Jie Techonology Co; Ltd.


