Wholesale price for SV-9300 Fireproof silicone sealant Wholesale to Croatia
Short Description:
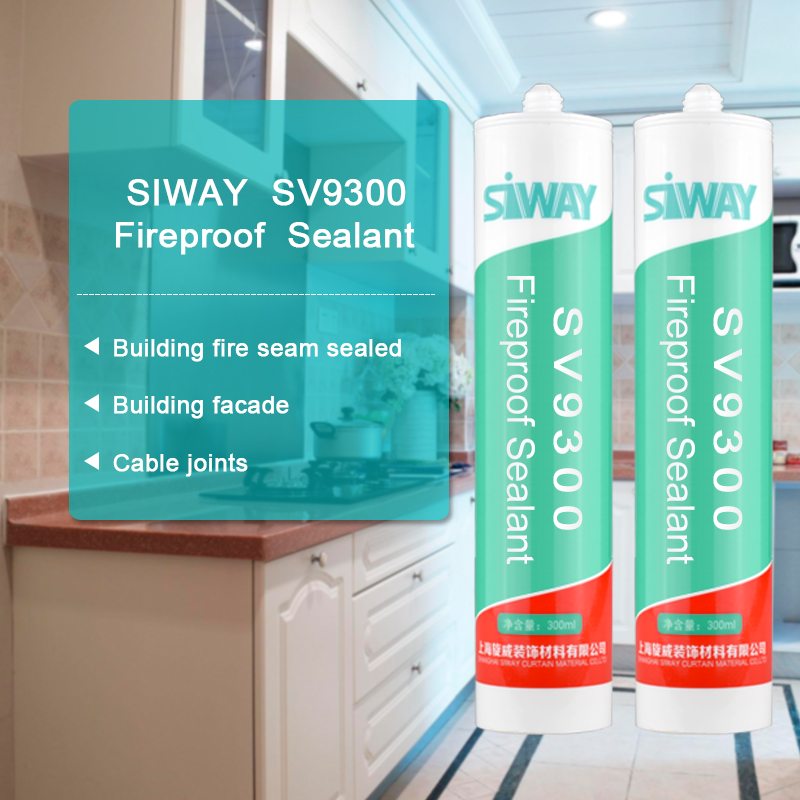
Description SV – 9300 Fire resistant silicone sealant is a one-component, neutral-curing silicone sealant exhibiting superior performance in applications where sealing openings in walls and floors are needed to control the spread of fire, smoke, toxic gasses, and water during fire conditions. Where to use It is an ideal material designed for use in fire-stop systems for through penetrations and joints. This product excels in applications where greater water resistance is required e.g. ...
Always customer-oriented, and it's our ultimate target to be not only the most reliable, trustable and honest supplier, but also the partner for our customers for Wholesale price for SV-9300 Fireproof silicone sealant Wholesale to Croatia, If you are interested in our products, please feel free to send us your inquiry. We sincerely hope to establish win-win business relationships with you.
Description
SV – 9300 Fire resistant silicone sealant is a one-component, neutral-curing silicone sealant exhibiting superior performance in applications where sealing openings in walls and floors are needed to control the spread of fire, smoke, toxic gasses, and water during fire conditions.
Where to use
It is an ideal material designed for use in fire-stop systems for through penetrations and joints. This product excels in applications where greater water resistance is required e.g. curtain wall, building facade, expansion/pipe and cable joints.
Key Features
1. 100% silicone
2. Excellent weatherproofing and waterproofing
3. Low gas transmission rate
4. With highly efficient redundant
Basic Application
1.Building fire seam sealed
2.Building façade
3.cable joints
Technical data sheet
| Test standard | Test project | Unit | value |
| Before curing——25℃,50%R.H. | |||
| GB13477 | Flow, sagging or vertical flow | mm | 0 |
| GB13477 | Operating time | min | 15 |
| GB13477 | surface drying time(25℃,50%R.H.) | min | 40-60 |
| Sealant curing speed and operating time will have different with different temperatures and temperature, high temperature and high humidity can make sealant curing speed faster, rather low temperature and low humidity are slower.21 days after curing——25℃,50%R.H. | |||
| GB/T 531.1-2008 | Durometer Hardness | Shore A | 20-60 |
| GB13477 | 60% elongation of cementation | no damaging | |
| GB13477 | Elongation limit | % | 120 |
| GB/T 24267 | Sealant level | 20HM | |
| GB/T 24267 | Fire prevention level | FV-0 | |
Certification
GB/T 24267-2009
Color
Black
Package
300ml in cartridge * 24 per box
Shelf life
12 months
Note
If you want the TDS or MSDS or other details, please contact with our sales person.
It has been exciting since Day 1 to get to partner with fantastic companies in addition to building our dream tiny home. One of those companies is Rockler Woodworking and Hardware.
One of the products they sent our way was the 3-piece application kit featured in the video.
We are not filmmakers and are certainly not people with television hosting experience. We decided to make this film in order to show others how we are turning our house into a home at the Tiny r(E)volution.
Fusion Pro® Single Component® Grout is stain proof and color perfect. It’s easy to spread and clean over ceramic, porcelain, glass and natural stone tiles for exterior and interior wall and floor use.
Learn more about Fusion Pro at https://www.custombuildingproducts.com/products/grout-materials/single-component-grout/fusion-pro.aspx
Fusion Pro Single Component Grout from Custom Building Products
Installing stain proof Fusion Pro grout is fast and easy. Keep in mind that Fusion Pro is not a cement, epoxy or urethane-based grout, so if you have experience working with those products, installing Fusion Pro will be a little different. Before you install, make sure you have the right tools and materials: A medium-to-hard rubber float, fresh water, a grout sponge, a nylon scrubber and microfiber towels.
Fusion Pro cures by evaporation so the area needs adequate ventilation.
Also check that the tile has been set for at least 24 hours, that the mortar is dry and that the substrate does not have a high moisture emission rate. Tile surfaces and coatings vary widely, so always perform a test. We recommend applying a grout release when working with hard-to-clean tiles such as porous, textured or coated tile — or any natural stone.
Begin installation by wiping the surface clean with water, leaving it lightly damp but without forming any puddles in the grout joints. Using the grout float, spread Fusion Pro across the surface, filling all grout joints. The first time you use Fusion Pro, grout for only about two minutes. Once you’re comfortable, you can progress to larger areas but work for no more than about three-to-four minutes at a time. This should cover around 20-square feet of tile. You can spread more Fusion Pro when conditions are cold and damp; less when conditions are warm and dry. Unlike conventional grouts, clean-up should begin right away. Do not allow Fusion Pro to dry or skin-over prior to cleaning.
After spreading, use your float to remove excess grout, making certain the joints stay full. Now, using a clean, lightly-damp grout sponge, go over the freshly grouted area.
Depending on site conditions, you can allow the water to dwell for about 30 seconds prior to cleaning. Clean the grout by holding the sponge flat to the surface and work in a light, circular motion. Maintain the shape and fullness of the joints as you move across the tile.
Use a light touch and do not over-scrub or over-water. Then, hold a clean, lightly-damp grout sponge flat against the tile and do a clean-wipe across the tile, diagonally, in one direction. Drag a lightly-damp microfiber towel over the tile – removing remaining grout from the surface.
Make sure to refill your bucket with fresh water every 30 to 40 feet. Keep the sponge and towel as clean as possible and wring them out fully after each rinse.
With Fusion Pro, there’s no need to return and seal the grout.
Here are some contractor tips: If any grout dries on the surface, re-dampen it right away. Wait two-to-four minutes and gently agitate with a sponge or nylon scrubber before continuing with the clean-up. You can also reapply a small amount of grout to help re-emulsify the product and then wipe it clean.
Two hours after clean up, inspect the surface for streaks or residue. If streaks or haze are present, you can apply AquaMix Grout Haze Remover or Tile Lab Grout and Tile Cleaner. Let it soak in for a few minutes then lightly agitate with a white nylon scrub pad. Wipe the surface with clean water and a sponge — and lightly buff the tile with a microfiber towel. When grouting both walls and floors together, protect horizontal surfaces from excess wash water used to clean the vertical surface. Give Fusion Pro three days to fully harden – a little longer in colder temperatures or in higher humidity.
It can usually be opened up for light traffic after 24 hours.
Stain proof. Color perfect. Fusion Pro Single Component Grout
We know grout. Count on Custom.
For details visit custombuildingproducts.com


