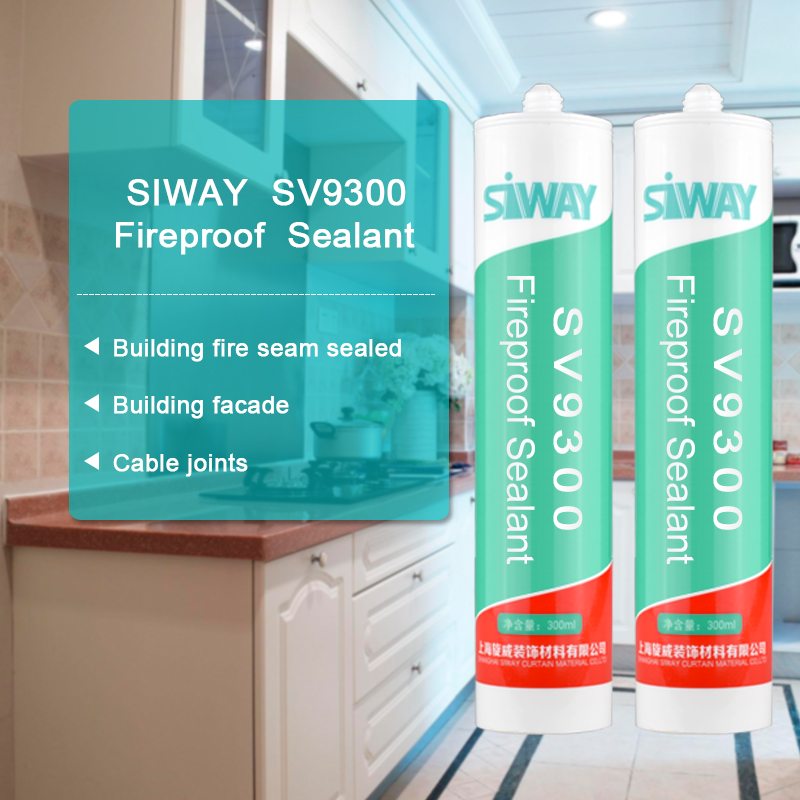
Well-designed SV-9300 Fireproof silicone sealant for Madagascar Factories
Short Description:
Description SV – 9300 Fire resistant silicone sealant is a one-component, neutral-curing silicone sealant exhibiting superior performance in applications where sealing openings in walls and floors are needed to control the spread of fire, smoke, toxic gasses, and water during fire conditions. Where to use It is an ideal material designed for use in fire-stop systems for through penetrations and joints. This product excels in applications where greater water resistance is required e.g. ...
It is a good way to improve our products and service. Our mission is to develop creative products to customers with a good experience for Well-designed SV-9300 Fireproof silicone sealant for Madagascar Factories, With superb service and quality, and an enterprise of foreign trade featuring validity and competitiveness, that will be trusted and welcomed by its clients and creates happiness to its employees.
Description
SV – 9300 Fire resistant silicone sealant is a one-component, neutral-curing silicone sealant exhibiting superior performance in applications where sealing openings in walls and floors are needed to control the spread of fire, smoke, toxic gasses, and water during fire conditions.
Where to use
It is an ideal material designed for use in fire-stop systems for through penetrations and joints. This product excels in applications where greater water resistance is required e.g. curtain wall, building facade, expansion/pipe and cable joints.
Key Features
1. 100% silicone
2. Excellent weatherproofing and waterproofing
3. Low gas transmission rate
4. With highly efficient redundant
Basic Application
1.Building fire seam sealed
2.Building façade
3.cable joints
Technical data sheet
| Test standard | Test project | Unit | value |
| Before curing——25℃,50%R.H. | |||
| GB13477 | Flow, sagging or vertical flow | mm | 0 |
| GB13477 | Operating time | min | 15 |
| GB13477 | surface drying time(25℃,50%R.H.) | min | 40-60 |
| Sealant curing speed and operating time will have different with different temperatures and temperature, high temperature and high humidity can make sealant curing speed faster, rather low temperature and low humidity are slower.21 days after curing——25℃,50%R.H. | |||
| GB/T 531.1-2008 | Durometer Hardness | Shore A | 20-60 |
| GB13477 | 60% elongation of cementation | no damaging | |
| GB13477 | Elongation limit | % | 120 |
| GB/T 24267 | Sealant level | 20HM | |
| GB/T 24267 | Fire prevention level | FV-0 | |
Certification
GB/T 24267-2009
Color
Black
Package
300ml in cartridge * 24 per box
Shelf life
12 months
Note
If you want the TDS or MSDS or other details, please contact with our sales person.
Silirub B&K Silicone Sealant is perfect solution for bathrooms & kitchens, it has outstanding sealing properties for all wet areas.
Perfect of sealing sinks, bath cubicles, wash & work tops. Silirub B&K Silicone Sealant is anti-fungal, mildew/mould resistant, neutral cure silicone sealant.
Is your toilet running? The most common cause of a leaky toilet is a toilet flapper valve that isn’t quite seating properly at the bottom of the tank. Replacing a toilet flapper valve is a relatively simple fix that could save you a pretty penny on your water bill.
First, it’s worth noting that not all flapper designs are the same. Before buying a replacement flapper, be sure to take the old one to the store with you so you can be sure the new one is a fit.
Once you have a compatible flapper ready to install, be sure to first shut off the water supply valve to the toilet tank. Remove the lid from the tank, and flush the toilet to remove as much water as possible.
You’ll note that the chain attached to the flush lever is the mechanism that lifts the toilet flapper, releasing water into the bowl. Disconnect this chain from the toilet lever. Then, pull the flapper off of the mounting pegs on either side of the overflow tube.
It’s important to be sure to wipe off the valve seat at the bottom of the tank to ensure a clean seal between the area and the new flapper valve, once installed. Next, go ahead and install the new flapper valve where the old one sat. Connect the chain back to both the flapper and the flush lever, then test the amount of slack you’ll need by pushing down on the flush lever a few times, watching to make sure the flapper comes up and down appropriately.
Lastly, turn the water supply back on and let the toilet tank re-fill with water. The new flapper valve should form a tight seal, fixing the leaky toilet that once was.
As always, if you’re having problems or need extra help, give Roto-Rooter a call or visit us a https://www.rotorooter.com


