OEM/ODM Factory for SV-777 silicone sealant for stone for Sweden Manufacturers

Short Description:
Description SV-777 silicone sealant for stone, is an elastomer sealant in modulus, single. Waterproof joints need to be sensitive to natural stone, glass and metal building clean appearance panel for sealing design, it to the moisture in the air after curing in contact, the formation of elastic rubber sealing performance, durability, weather resistance, good combination with most building materials. Key Features 1. 100% silicone 2. Minimized fluid migration 3. Low dirt pick up 4. Water &...
We thinks what customers think, the urgency of urgency to act in the interests of a customer position of principle, allowing for better quality, lower processing costs, prices are more reasonable, won the new and old customers the support and affirmation for OEM/ODM Factory for SV-777 silicone sealant for stone for Sweden Manufacturers, If you are interested in any of our products and services, please don't hesitate to contact us. We are ready to reply you within 24 hours after receipt of your request and to create mutual un-limited benefits and business in near future.
Description
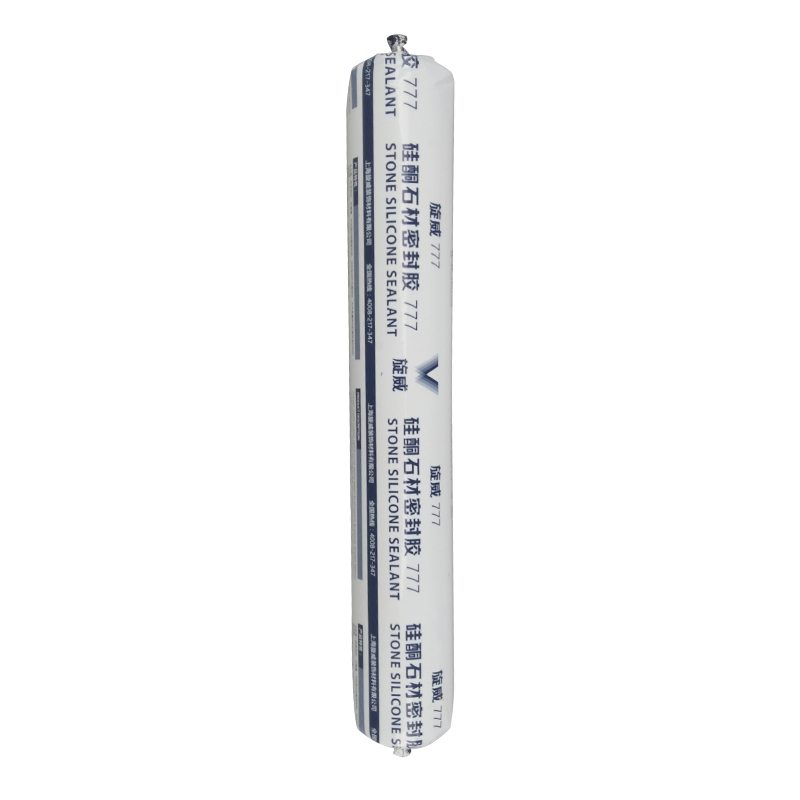
SV-777 silicone sealant for stone, is an elastomer sealant in modulus, single. Waterproof joints need to be sensitive to natural stone, glass and metal building clean appearance panel for sealing design, it to the moisture in the air after curing in contact, the formation of elastic rubber sealing performance, durability, weather resistance, good combination with most building materials.
Key Features
1. 100% silicone
2. Minimized fluid migration
3. Low dirt pick up
4. Water & weatherproof
5. Primerless adhesion to most building materials
6. 25% movement capability
Basic Application
1.Stone curtain wall sealing
2.Engineering ceramic sealing
3.Stone and other materials such as glass, metal seam sealing
4.Other uses
Technical data sheet
| Test standard | Test project | Unit | value |
| Before curing——25℃,50%R.H. | |||
| ASTM C 679 | Flow, sagging or vertical flow | mm | 0 |
| VOC | g/L | <80 | |
| GB13477 | surface drying time(25℃,50%R.H.) | min | 30 |
| Curing time(25℃,50%R.H.) | Day | 7-14 | |
| Sealant curing speed and operating time will have different with different temperatures and temperature, high temperature and high humidity can make sealant curing speed faster, rather low temperature and low humidity are slower.21 days after curing——25℃,50%R.H. | |||
| GB13477 | Durometer Hardness | Shore A | 30 |
| GB13477 | The ultimate tensile strength | Mpa | 0.7 |
| Temperature stability | ℃ | -50~+150 | |
| GB13477 | Movement capability | % | 25 |
| ASTM C 1248 | Pollution / oil, natural stone | No | |
Certification
25HM GB/T 23261-2009;ASTM C920-2011
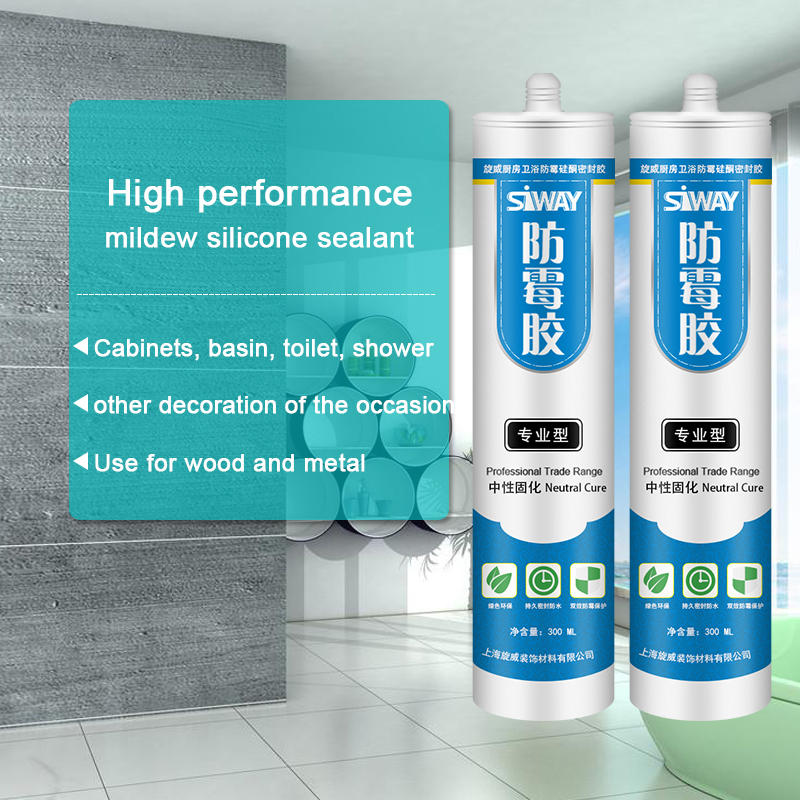
Color
Black,White,Gray
Package
300ml in cartridge * 24 per box, 590ml in sausage *20 per box
Shelf life
12 months
Note
If you want the TDS or MSDS or other details, please contact with our sales person.
New version with approx. 200 conductive rubber pads and silicone adhesive. attilaseboshop ASK02 , ASK05 KIT or similar versions
https://www.attilasebo.net/attilaseboshop/index.php?route=product/product&product_id=141
Removing damaged keypad’s contacts and replace with these well conductive rubber pads can restore the conductivity of worn carbon contacts of flexible keypad
Contains approx. 200 conductive rubber pads and silicone adhesive
diameters: 2mm , 3mm, 4mm, 5mm and 6 mm
Easy to use – Replacement pads are made of long lasting conductive rubber
More than one keypad may be repaired using one KIT
This video and music are not free to use in other videos or upload
but feel free to share or add to playlists
Music : attilasebomusic 2014-2015
Visit https://www.boatstogo.com/faq.asp for more info.
If you are losing air pressure, (aside from pressure loss commonly caused by colder temperatures), check the boat over for leaks. Start by checking the valves first. The best tool to find leaks is soapy water in a spray bottle. A leaky valve is rare, but if you do find a leak we can send you a replacement valve. We recommend mixing soap and water in a spray bottle. Spray around the valve. If you see bubbles forming, check your valve fitting and base and be sure the valve insert is screwed on tight. You can apply glue from the repair kit to seal small leaks around the valve or holes where the nylon string enters the valve assembly. If you continue to have problems with the valve, it’s probably time to order a new one.
To find tiny leaks, take the floor boards out, fully inflate the boat until it’s hard to the touch. Put some liquid detergent in a bucket of water and scrub it all over the boat with rag or big wash brush. Watch for elusive or tiny bubbles. When you find the first leak, keep looking. You might as well fix them all at the same time! Remember, the number one cause of slow leaks is due to poorly fitted valves. Unscrew the valve and clean the area. Make sure the little rubber O-rings are still good. They are the cheapest repair possible.
If you have no luck finding a slow leak with air bubbles, inflate the boat to it’s maximum air pressure and try to listen for the leak. If you can narrow the area down, return with a spray bottle to identify the source of the leak.
Punctures less than 1/8″ in size can be repaired simply without a patch. Deflate your boat, then clean and dry the area to be repaired. Apply a small drop of glue to cover the puncture and let dry for 12 hours. If you need to get on the water sooner, let dry for 30 minutes and then inflate the boat, inflating the compartment with the repair only 3/4 full. This repair might not be permanent so add a drop again at a later date to make it permanent.
Your Inflatable Boat comes with a repair kit as standard equipment. It is recommended to do repairs in dry weather. Humidity will decrease glue bond. Cut a piece of repair material large enough to overlap the damaged area by approximately 1″ and round off the edges. Apply glue to the under side of the patch and around the area to be repaired. Too much glue will often interfere with a proper repair. Allow adhesive to become tacky for 5 minutes, and then place patch on the damaged area. Use a weight to apply 3-5 lbs. of pressure for 24 hours. After the patch has dried, apply glue around the edges for a complete seal (dry 6 hours).