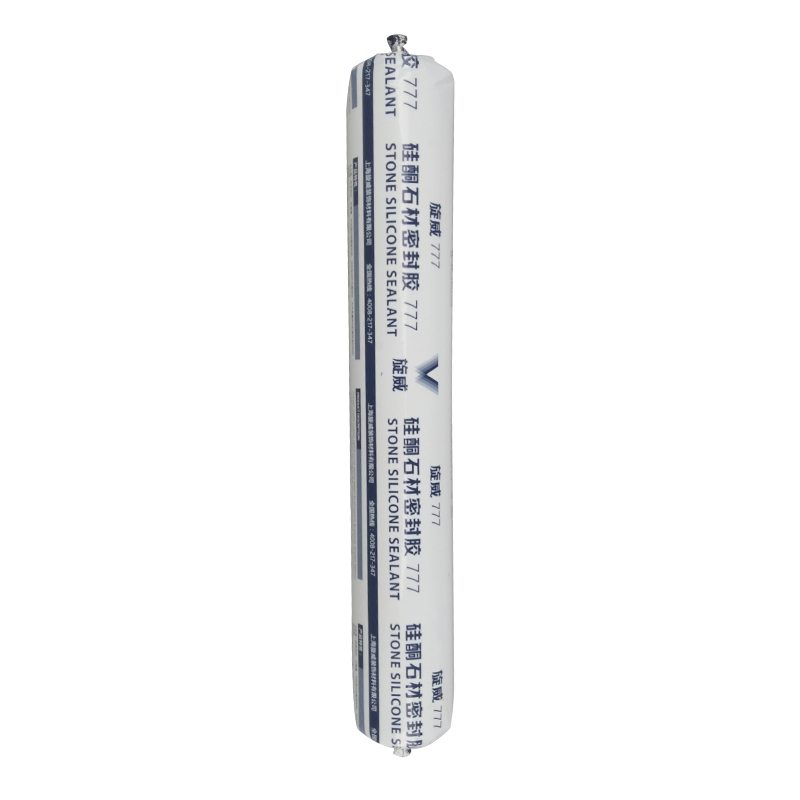
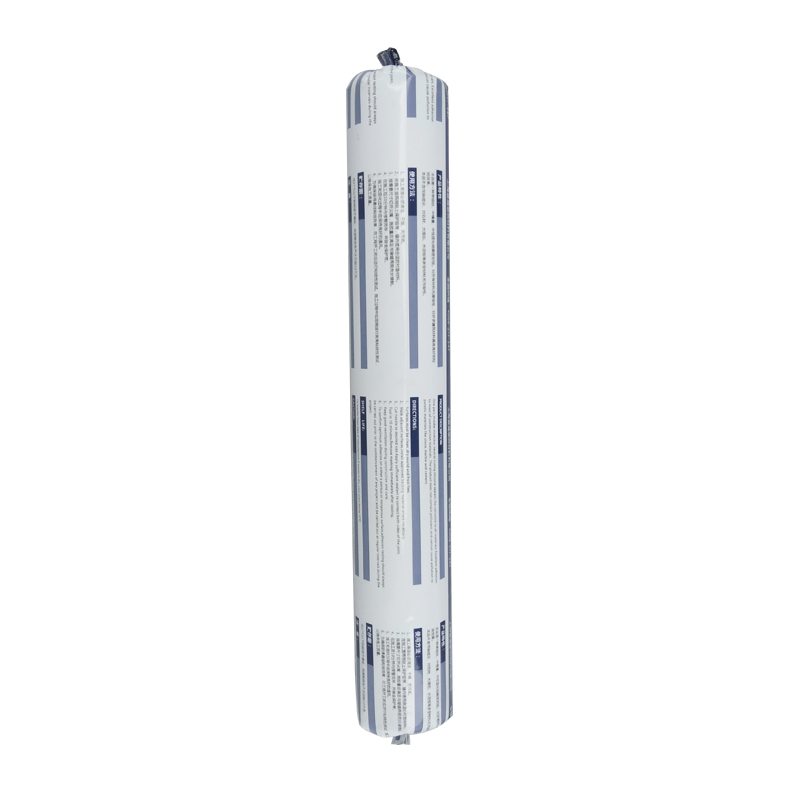
OEM/ODM China SV-777 silicone sealant for stone for Victoria Factories

Short Description:
Description SV-777 silicone sealant for stone, is an elastomer sealant in modulus, single. Waterproof joints need to be sensitive to natural stone, glass and metal building clean appearance panel for sealing design, it to the moisture in the air after curing in contact, the formation of elastic rubber sealing performance, durability, weather resistance, good combination with most building materials. Key Features 1. 100% silicone 2. Minimized fluid migration 3. Low dirt pick up 4. Water &...
Sticking to the principle of "Super Quality, Satisfactory service" ,We are striving to be a good business partner of you for OEM/ODM China SV-777 silicone sealant for stone for Victoria Factories, We sincerely welcome overseas customers to consult for the long-term cooperation and the mutual development.We strongly believe that we can do better and better.
Description
SV-777 silicone sealant for stone, is an elastomer sealant in modulus, single. Waterproof joints need to be sensitive to natural stone, glass and metal building clean appearance panel for sealing design, it to the moisture in the air after curing in contact, the formation of elastic rubber sealing performance, durability, weather resistance, good combination with most building materials.
Key Features
1. 100% silicone
2. Minimized fluid migration
3. Low dirt pick up
4. Water & weatherproof
5. Primerless adhesion to most building materials
6. 25% movement capability
Basic Application
1.Stone curtain wall sealing
2.Engineering ceramic sealing
3.Stone and other materials such as glass, metal seam sealing
4.Other uses
Technical data sheet
| Test standard | Test project | Unit | value |
| Before curing——25℃,50%R.H. | |||
| ASTM C 679 | Flow, sagging or vertical flow | mm | 0 |
| VOC | g/L | <80 | |
| GB13477 | surface drying time(25℃,50%R.H.) | min | 30 |
| Curing time(25℃,50%R.H.) | Day | 7-14 | |
| Sealant curing speed and operating time will have different with different temperatures and temperature, high temperature and high humidity can make sealant curing speed faster, rather low temperature and low humidity are slower.21 days after curing——25℃,50%R.H. | |||
| GB13477 | Durometer Hardness | Shore A | 30 |
| GB13477 | The ultimate tensile strength | Mpa | 0.7 |
| Temperature stability | ℃ | -50~+150 | |
| GB13477 | Movement capability | % | 25 |
| ASTM C 1248 | Pollution / oil, natural stone | No | |
Certification
25HM GB/T 23261-2009;ASTM C920-2011
Color
Black,White,Gray
Package
300ml in cartridge * 24 per box, 590ml in sausage *20 per box
Shelf life
12 months
Note
If you want the TDS or MSDS or other details, please contact with our sales person.
Watch as the Dremel Multi-Max and MM501 Carbide Grout Blade remove old grout around a bath tub to be replaced with clean grout for a refreshed look.
The action of the Dremel Multi-Max coupled with its uniquely shaped grout blade makes it the perfect solution for repairing a baths surround.
For this project we’ll use the Dremel Multi-Max oscillating tool and MM501 one-sixteenth inch Carbide Grout Blade. Begin this project by inserting the carbide grout blade into the tool. Tighten the screw with the allen wrench to secure the blade in the holder. Set the tool to medium to high speed then guide the blade into the grout. To protect your tub we recommend that you apply a line of tape around the top edge of your tub first. You can also tape the tile for added protection. In smooth even motions continue to remove the grout on all sides.
Depending on the hardness of the grout a few passes may be required. If needed the blade can be easily rotated to get into tight corners. Be sure to unplug the tool before changing the blade. Remember to keep the blade parallel to the tub ledge, do not allow it to rest on the tub to avoid any scratches. This also sets the blade to a right angle at the wall. Put the blade in the grout and with a smooth motion you’ll prevent tiles for being nicked. To control plunge depth use the carbide grit line on the blade as an indicator. Do not plunge beyond the grit line as you could damage the backer board material. When you’re finished dust the area, remove the layer of tape and whipe clean with a damp cloth. Start your line of cualk working from the corner’s first. Once a smooth bead is all that’s left, wet your finger and smooth out the caulk. Let it set for the recommended time and your bath is as good as new.
Learn more about Dremel Multi-Max tools: https://goo.gl/D0QXLM


