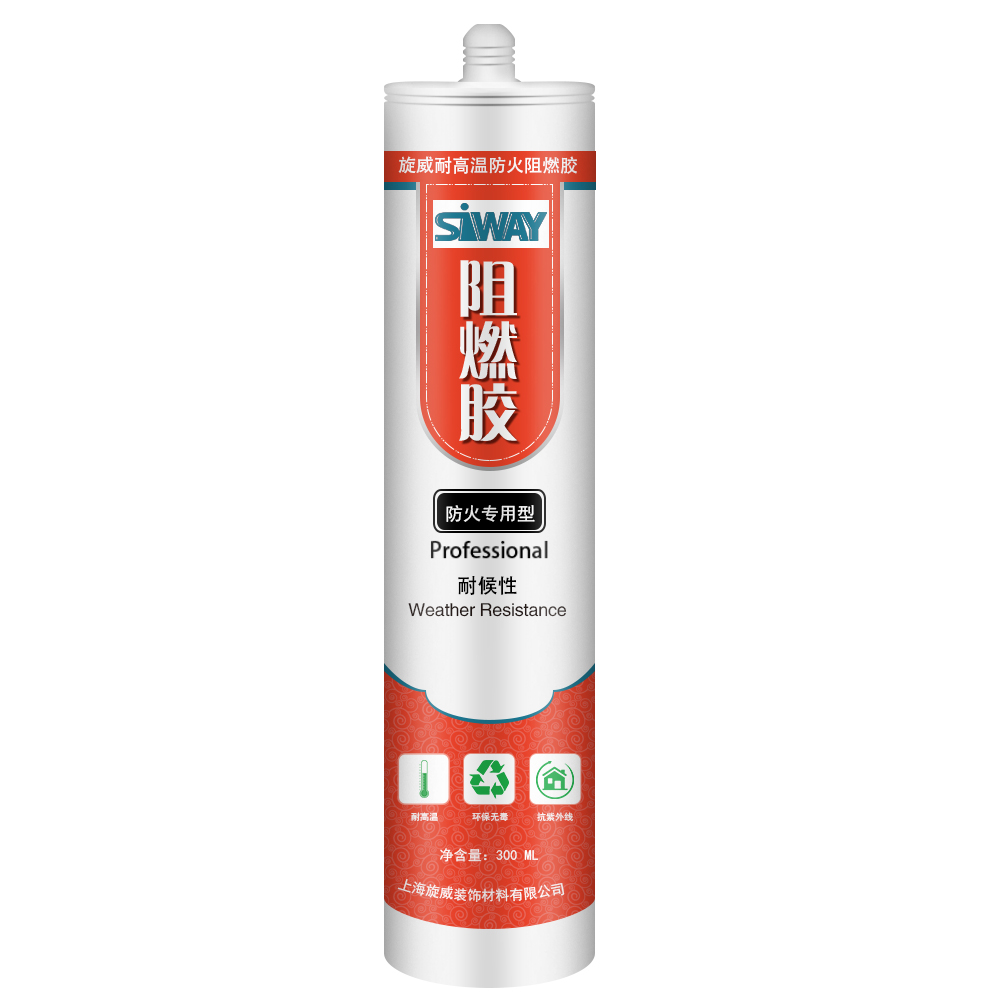
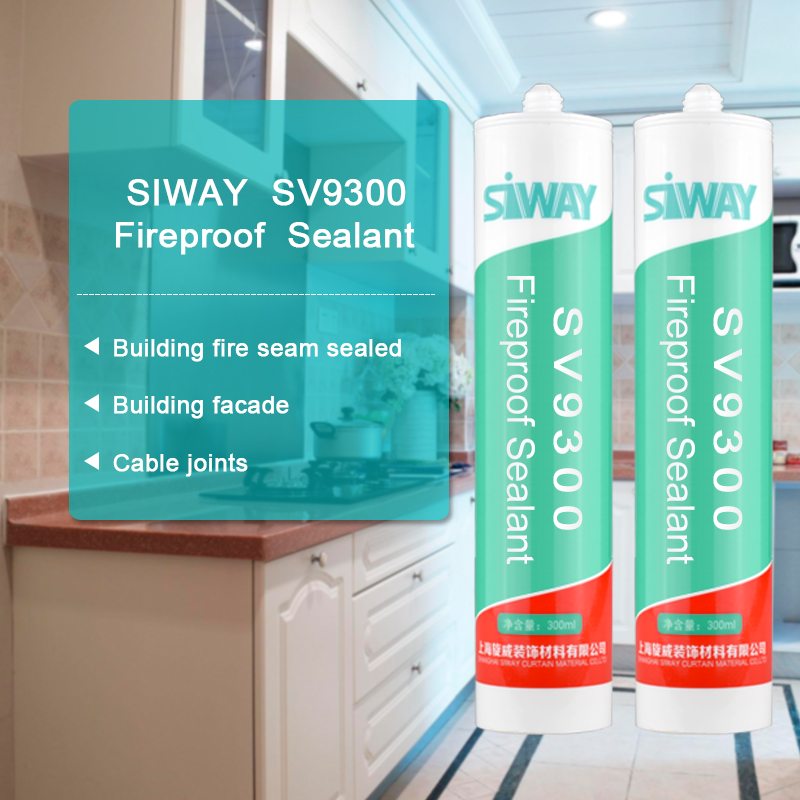
New Delivery for SV-9300 Fire Resistant Silicone Sealant for Spain Factory
Short Description:
Description SV – 9300 Fire resistant silicone sealant is a one-component, neutral-curing silicone sealant exhibiting superior performance in applications where sealing openings in walls and floors are needed to control the spread of fire, smoke, toxic gasses, and water during fire conditions. Where to use It is an ideal material designed for use in fire-stop systems for through penetrations and joints. This product excels in applications where greater water resistance is required e.g. ...
Our company sticks to the principle of "Quality is the life of the company, and reputation is the soul of it" for New Delivery for SV-9300 Fire Resistant Silicone Sealant for Spain Factory, Create Values,Serving Customer!" is the aim we pursue. We sincerely hope that all customers will establish long term and mutually beneficial cooperation with us.If you wish to get more details about our company, Please contact with us now.
Description
SV – 9300 Fire resistant silicone sealant is a one-component, neutral-curing silicone sealant exhibiting superior performance in applications where sealing openings in walls and floors are needed to control the spread of fire, smoke, toxic gasses, and water during fire conditions.
Where to use
It is an ideal material designed for use in fire-stop systems for through penetrations and joints. This product excels in applications where greater water resistance is required e.g. curtain wall, building facade, expansion/pipe and cable joints.
Key Features
1. 100% silicone
2. Excellent weatherproofing and waterproofing
3. Low gas transmission rate
4. With highly efficient redundant
Basic Application
- Building fire seam sealed
- Building facade
- cable joints
Technical data sheet
| Test standard | Test project | Unit | value |
| Before curing——25℃,50%R.H. | |||
| GB13477 | Flow, sagging or vertical flow | mm | 0 |
| GB13477 | Operating time | min | 15 |
| GB13477 | surface drying time(25℃,50%R.H.) | min | 40-60 |
| Sealant curing speed and operating time will have different with different temperatures and temperature, high temperature and high humidity can make sealant curing speed faster, rather low temperature and low humidity are slower.21 days after curing——25℃,50%R.H. | |||
| GB/T 531.1-2008 | Durometer Hardness | Shore A | 20-60 |
| GB13477 | 60% elongation of cementation | no damaging | |
| GB13477 | Elongation limit | % | 120 |
| GB/T 24267 | Sealant level | 20HM | |
| GB/T 24267 | Fire prevention level | FV-0 | |
Certification
GB/T 24267-2009
Color
Black
Package
300ml in cartridge * 24 per box
Shelf life
12 months
Note
If you want the TDS or MSDS or other details, please contact with our sales person.
This project will be featured on my website, https://www.thediyresource.com.
Welcome to Design Vlog #3! (DIY Hydraulic System)
Let’s dive into how I mold my hot glue piston seals in my DIY Hydraulic System. This process is still in development, but we’re in the stage where I am only making small improvements. If you have any suggestions on how to make an air-tight seal at a low cost, please let me know!
I am starting this vlog to share my engineering design process that I apply while creating DIY projects. I hope to educate and inspire.
Thanks for watching!
Facebook: https://www.facebook.com/TheDIYResource
Twitch Creative: https://www.twitch.tv/thediyresource
Twitter: https://twitter.com/thediyresource
Website: https://www.thediyresource.com
Subscribe for more!
Great technique for replacing a broken or leaking elbow, joint, coupling, valve, … in plastic pipe. Does not require any special tools (just hacksaw blade, screwdriver). Especially when you don’t have a lot of pipe to work with and / or when redoing it all would be a headache.
First he cuts across the bad part near where the pipe ends (inside the connection). He then cuts diagonally along the length being careful to cut only the outer collar and not down into the pipe. (Note that some plastic saw dust will get in to the pipes. This is unavoidable and you will have to clean it out of faucets, etc. around the house.)
After that he puts a screwdriver in the cut and twists and pries it open (not scaring the pipe) and then peels off the rest of the collar by following it around the pipe. Again, making sure not to gouge the pipe. He then cleaned it up (file, sandpaper, whatever), tested the fit with the new part. Glued it up and put it in place. Like new.


