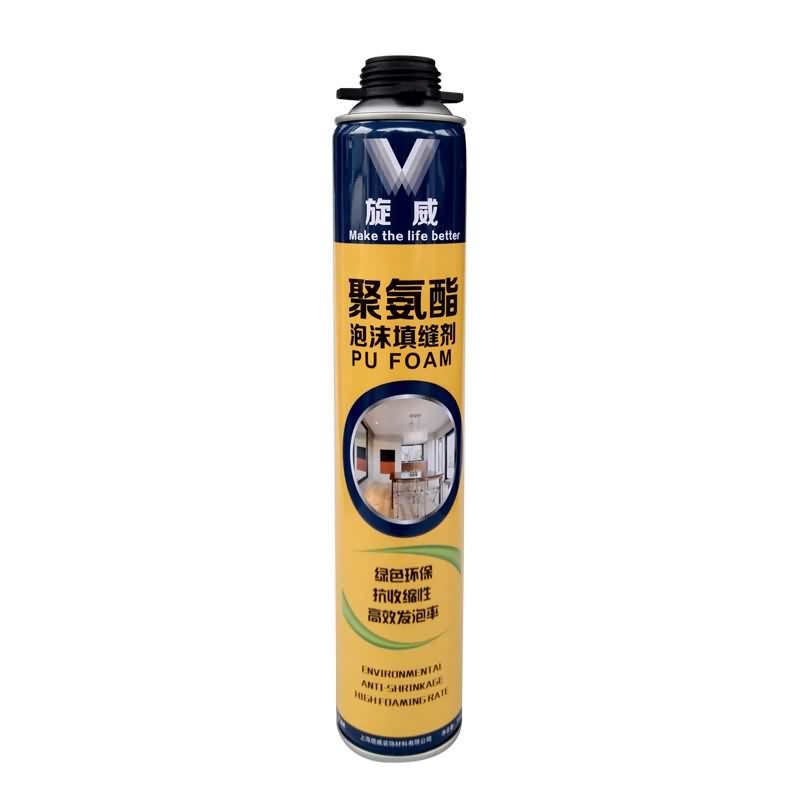
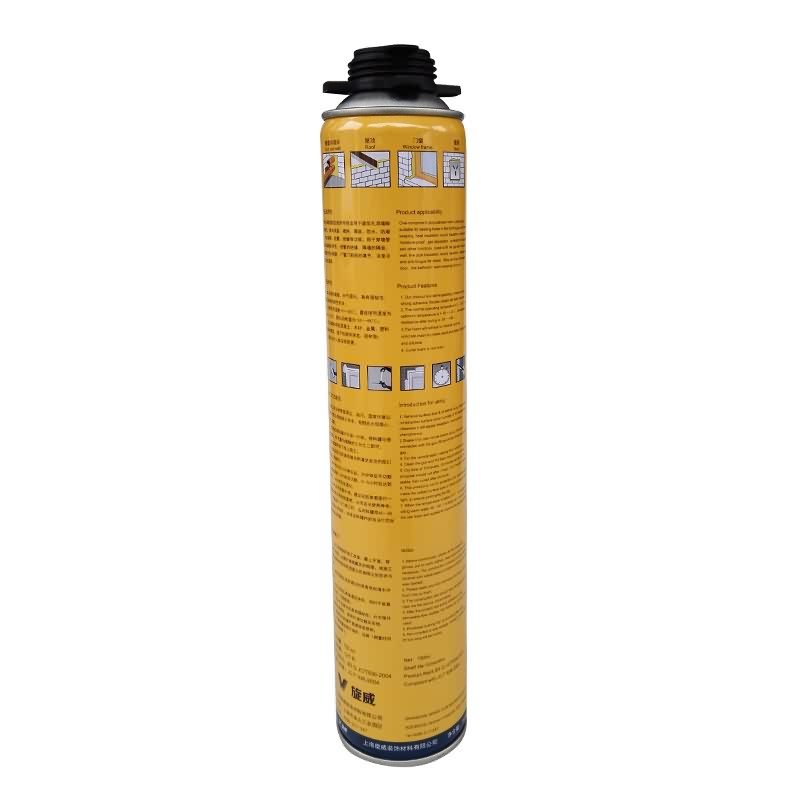
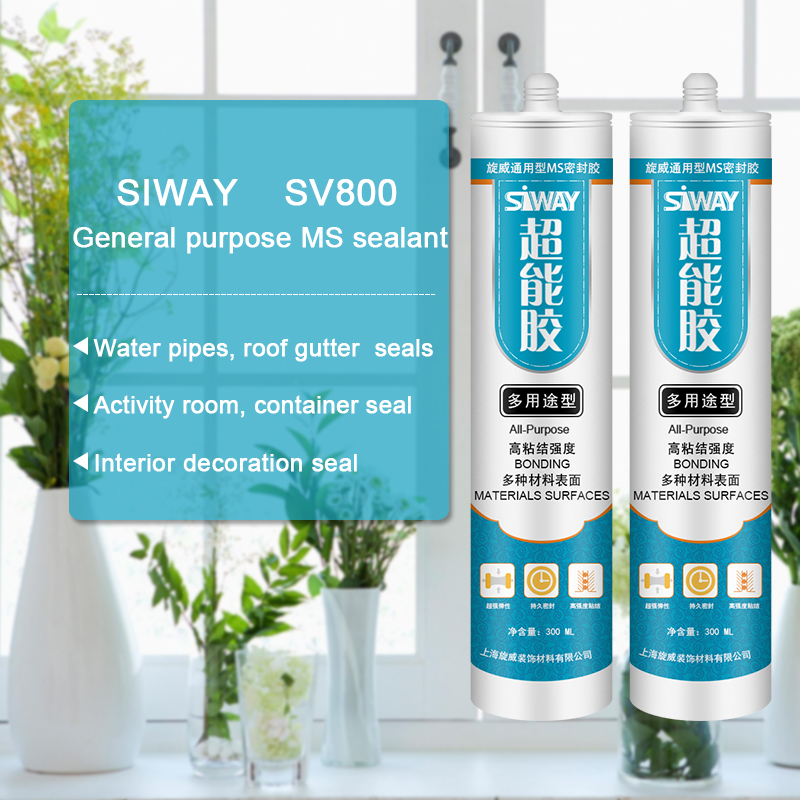
Massive Selection for Siway PU FOAM for Algeria Manufacturers
Short Description:
Description This product is the expansion, moisture curing, has the strong cohesiveness, elastic foam obturator structure; Save work to save time, reduce waste; High bond strength; Bubble can stick in the concrete, wood, metal, plastic, such as base material surface, but not including teflon, silicon resins; Key Features 1. Noise silencing effect 2. Strong bonding strength 3. Water & weatherproof 4. Primerless adhesion to most building materials Basic Application 1.Doors and Windows a...
Assume full responsibility to meet all demands of our clients; achieve continuous advancements by promoting the growth of our clients; become the final permanent cooperative partner of clients and maximize the interests of clients for Massive Selection for Siway PU FOAM for Algeria Manufacturers, We have confident that we can provide the high quality products at resonable price, good after-sales service to the customers. And we will create a bright future.
Description
This product is the expansion, moisture curing, has the strong cohesiveness, elastic foam obturator structure; Save work to save time, reduce waste; High bond strength;
Bubble can stick in the concrete, wood, metal, plastic, such as base material surface, but not including teflon, silicon resins;
Key Features
1. Noise silencing effect
2. Strong bonding strength
3. Water & weatherproof
4. Primerless adhesion to most building materials
Basic Application
1.Doors and Windows and wall body between the gap filling sealing, fixed bond
2.Language lab, studio, etc when decorating, gap to fill
Technical data sheet
|
Project |
Value |
||
|
Density, Kg/m³,Not less |
10 |
||
|
Thermal conductivity,35℃,W/(m·K) no more than |
0.050 |
||
|
Dimensional stability(23±2)℃,48,h no more than |
5 |
||
|
Operating temperature |
-10~+35℃ |
||
|
Optimum operating temperature |
+18~+25℃ |
||
|
Temperature range(After curing) |
-35~+80℃ |
||
|
Tensile bond strength kPa Not less |
Aluminum plate |
Standard condition,7d |
80 |
|
Immersion,7d |
60 |
||
|
PVC plate |
Standard condition,7d |
80 |
|
|
Immersion,7d |
60 |
||
|
Cement Plate |
Standard condition,7d |
60 |
|
|
Shear strength,kpa,Not less |
80 |
||
|
Foam expansion ratio,Not less |
Standard value-10 |
||
Certification
JC 936-2004
Color
White
Package
750ml in Bottle * 12 per box
Shelf life
12 months
Note
If you want the TDS or MSDS or other details, please contact with our sales person.
https://tinyurl.com/o83sbhr
Video Highlights
0:17 Type of installation
1:08 First step: mark positioning on the ceiling
2:36 Test hole in the ceiling
3:41 Checking the test hole in the attic
4:40 Check clearance for support box
5:22 Mark and Cut the opening
6:08 Measuring for support framing
6:40 Finishing the cut from the bottom
7:31 Framing in the support box
9:37 Marking the hole in the Roof
10:20 Installing the Ceiling Support Trim Ring
11:23 Drill hole for roof cut guide
12:03 Cutting the hole in the roof
16:11 Framing in the pipe when attic insulation shield is unable to be used
18:22 Installing the Flashing
20:42 Checking to make sure height is correct
21:48 Installing the Storm Collar
23:30 Installing the Cap
Joe walks you through installation of DuraTech Chimney Pipe.
Position wood stove according to the manufacturer’s instructions. The flue outlet collar should be placed between the rafters or joists above, if possible. Measure from the wall to the center of the stove collar, then using a ladder measure the same point from the wall at the ceiling. Using a plumb bob check to see if you are at the center point on the appliance’s flue outlet and mark this center point on the ceiling. Using a wire hanger with the ends cut off as your drill bit, drill through the center mark on the ceiling, leave the hanger piece in the ceiling. Using the wire hanger to drill makes a smaller hole, in case you need to make any adjustments, and also allows better visibility of your hole once you are in the attic. The hanger is long enough to go through the ceiling and any insulation in the attic. In the attic you will want to find your “drill bit” and remove the insulation from the area so you can work. Using the round ceiling support box, mark appropriate cutting lines around the center point. You will need to build a frame for the support box between the rafters to support the chimney pipe. The bottom of the Round Support Box must extend at least 3 inches below the finished ceiling to maintain the proper clearances. Level the Support Box and secure it to the framing using at least three 8-penny nails per side. Alternatively, you may use 1-1/2″ #8 wood screws, instead of nails.
Next, you will secure the Trim Collar to the ceiling above the stove using the (4) 1″ long, round-head wood screws provided. Now back in the attic you will cut an opening in the roof directly above the opening below, and at least 4 inches larger than the chimney’s outside diameter to provide at least a 2-inch clearance all around the chimney. The chimney must be centered within this opening and maintain the 2-inch clearance to combustibles. The easiest way to do this is to mark the center point from the inside and drill through the roof, leaving the drill bit in place to find the hole once on the roof. Once on the roof to cut the hole for the chimney pipe, keep in mind the slope of the chimney and provide for this when measuring for the place to cut. An Attic Insulation Shield is required where the chimney passes into an attic. An installed Attic Insulation Shield is 15 inches high and cannot be cut down by code. In attic areas where this shield cannot fit, you must enclose the attic portion of the chimney in a framed enclosure. You may use just plywood or particle board for this box as it will be outside of the frame for the round ceiling support box. It doesn’t have to be pretty, it just has to be functional. Install the upper edge of the flashing under the roofing shingles by gently prying the shingles off of the tar line and removing any nails that may be sticking up and preventing the flashing from lining up with the opening in the roof. Gently work the flashing under the shingles so that it lines up over the opening, trim shingles around the flashing so that they lay flat.
Place a bead of high temperature silicone all the way around the underside of the flashing 1-2 inches in, this is not required but does add that extra line of defense from water intrusion.
Nail the flashing to the roof along the upper edge and down each side with 1-inch roofing nails, about 4 inches apart. Seal all nail heads with a High Temperature non-hardening waterproof sealant. Do not put screws through the Flashing into the Chimney Pipe.
Slide the chimney pipe down through the flashing and connect to the chimney pipe below or to the support box. Run a bead of high-temp silicone sealant just above where the collar will sit in the pipe. Place the storm collar around the chimney pipe and select the correct size needed to fit your pipe, some storm collars fit multiple sizes of pipe, trim off any excess if necessary. Insert tab into the slots on the collar so that it come out the other side and gently bend the tab back over to “lock” it in place. Push the collar down to the flashing and seal on top with a high temperature non-hardening waterproof silicone sealant. Also be sure to run a bead down the seam and around the tab.
Due to the weather, the rubber molding on the windshield is deteriorating to the point that it’s becoming an eye sore. I decided to replace it. This video shows how to perform a proper replacement.


