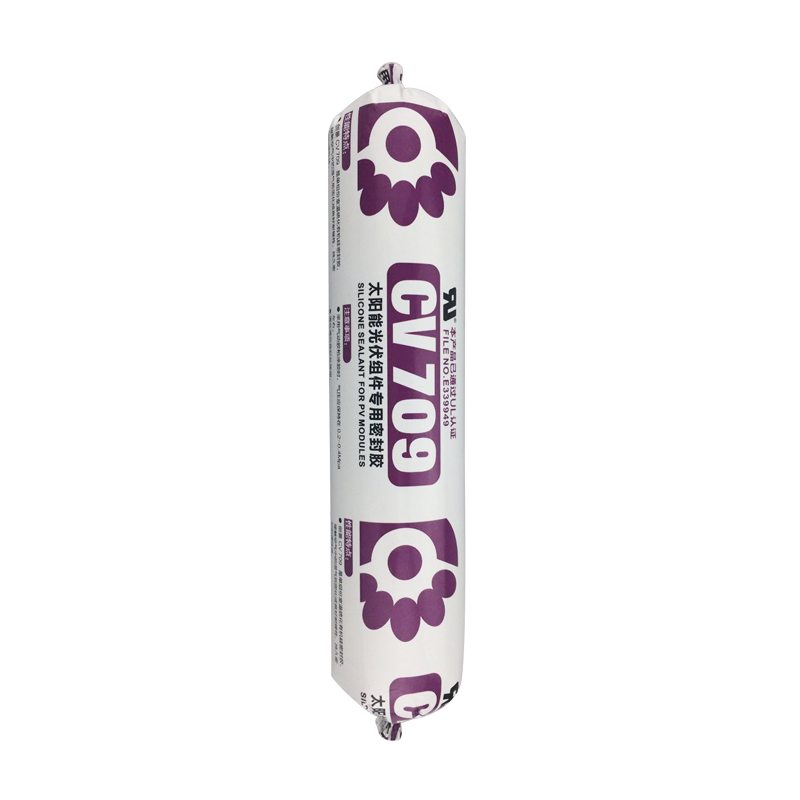
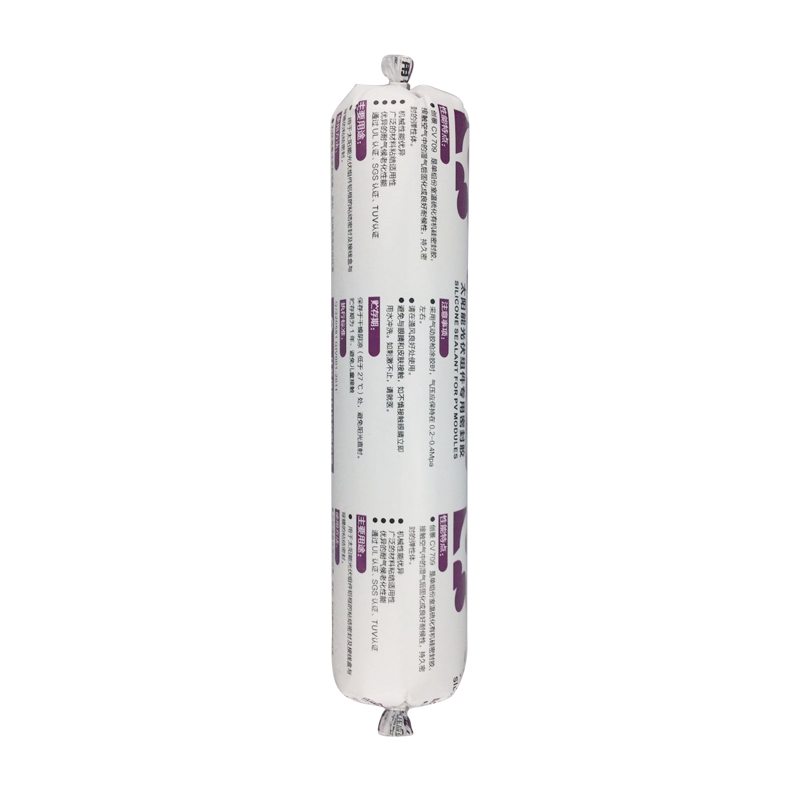
Manufacturer for CV-709 silicone sealant for PV moudels Export to Ghana
Short Description:
Description CV709 is a high-performance silicone sealant, one-component oxime type room temperature curing silicone rubber, has excellent weather resistance, high thixotropy, after curing for solar components involved in the base material has good caking property, by TUV for environmental requirements of the ROHS, UL E339949 Key Features 1. 100% silicone 2. No sag 3. high thixotropy 4. Water & weatherproof 5. For solar components involved in the base material has good bonding Basic Ap...
Our company insists all along the quality policy of "product quality is base of enterprise survival; customer satisfaction is the staring point and ending of an enterprise; persistent improvement is eternal pursuit of staff" and the consistent purpose of "reputation first, customer first" for Manufacturer for CV-709 silicone sealant for PV moudels Export to Ghana, items won certifications with the regional and international primary authorities .For far more detailed information,please contact us!
Description
CV709 is a high-performance silicone sealant, one-component oxime type room temperature curing silicone rubber, has excellent weather resistance, high thixotropy, after curing for solar components involved in the base material has good caking property, by TUV for environmental requirements of the ROHS, UL E339949
Key Features
1. 100% silicone
2. No sag
3. high thixotropy
4. Water & weatherproof
5. For solar components involved in the base material has good bonding
Basic Application
1.Solar module frame seal
2.The adhesive of the solar energy back to the terminal block
3.General industrial assembly with seal
Technical data sheet
| Test standard | Test project | Unit | value |
| Before curing——25℃,50%R.H. | |||
| specific gravity | g/ml | 1.34-1.40 | |
| GB13477 | Operating time | min | 15 |
| GB13477 | surface drying time(25℃,50%R.H.) | min | 40-60 |
| 3 days after curing——25℃,50%R.H. | |||
| Temperature range | ℃ | -55~200 | |
| GB13477 | Durometer Hardness | Shore A | 40~55 |
| The ultimate tensile strength | Mpa | ≥2 | |
| GB13477 | Breaking elongation | % | 300-600 |
| Aluminum bonding shear strength | Mpa | ≥1.5 | |
| Electrical properties | |||
| Breakdown voltage | Kv/mm | ≥20 | |
| Volume resistance | ohm.cm | 9E+14 | |
| Dielectric constant | 3.1@50Hz | ||
Certification
UL E339949; TUV
Color
Black, White
Package
300ml in cartridge * 24 per box, 500ml in sausage *20 per box
Shelf life
12 months
Note
If you want the TDS or MSDS or other details, please contact with our sales person.
Randy, a General Contractor in Dallas, TX and Owner of https://www.RSquaredRenovations.com, demonstrates how to install the plumbing for a bathroom faucet drain. If you are in the Dallas area and are looking to remodel your bathroom, give him a call at 972-998-8544. https://www.UniqueVanities.com
Transcription: Here we have the countertop sitting on the vanity, We’ve bought a p trap installation kit. You can get it at any home improvement store.
It comes with the P trap itself. That’s what we are looking for. The trap holds water in here so you don’t get sewer gas coming up back through.
We have a trap adapter mounted here. Essentially all these fittings are slip joint fittings. There is a plastic washer that has a cone shape. it’s what seals the pipe. It acts like a compression fitting that will seal this pipe onto that fitting there.
These have wings on them so they all need to be hand tightened. You really don’t need a wrench for these to fit together properly. Using a wrench would just cause them to break.
We have a 6 inch tail piece extension that will go on the bottom of the drain that came with our faucet. That slips into here and everything is adjustable. You have about an inch and a half worth of play in both of these up and down. Everything should go together without cutting anything and just by hand tightening everything.
If these parts are a little too long, they do make them in a 12 inch extension if your drain coming out of the wall was lower and you had a higher vanity they come in a 12 inch. You could cut these in two with a hacksaw, just make sure the inside edge is clean so that nothing catches on there.
Here I was able to use everything just how it is. I’ll put the trap in the trap adapter. I’ll put the tail piece extension on. Everything is fitting nice and comfortable. Nothing needs to be at a harsh angle. And then start tightening the fittings right where they are. Once you get everything snug you can go back and tightening everything.
And that’s pretty much how you install a drain. While we are under here we have the shut offs for the hot and cold water for the faucet. The hot side is marked. A common trade practice is the hot is always stubbed out on the left. If for some reason you knew that it wasn’t like your old faucet was reversed, that’s something you need to check before you take it apart so you do know the hot is on the left.
It’s not a big deal, you can always swap these two supply lines underneath here to get back to the proper working order.
We’ve removed the taps off these vales. They have a rubber washer on the bottom. We’ll hand tighten these. Once we feel them tighten up. We can put a wrench on them. Another half a turn. Not too tight. And we’re ready to turn the water on.
Turn it on. Work out the air in the line, let it run a little bit. Check all your fittings for leaks and it’s all dry then your installation is complete. Thanks again for being with us today. We’ll catch you back and show you some more remodeling tips with R Squared Renovations.
