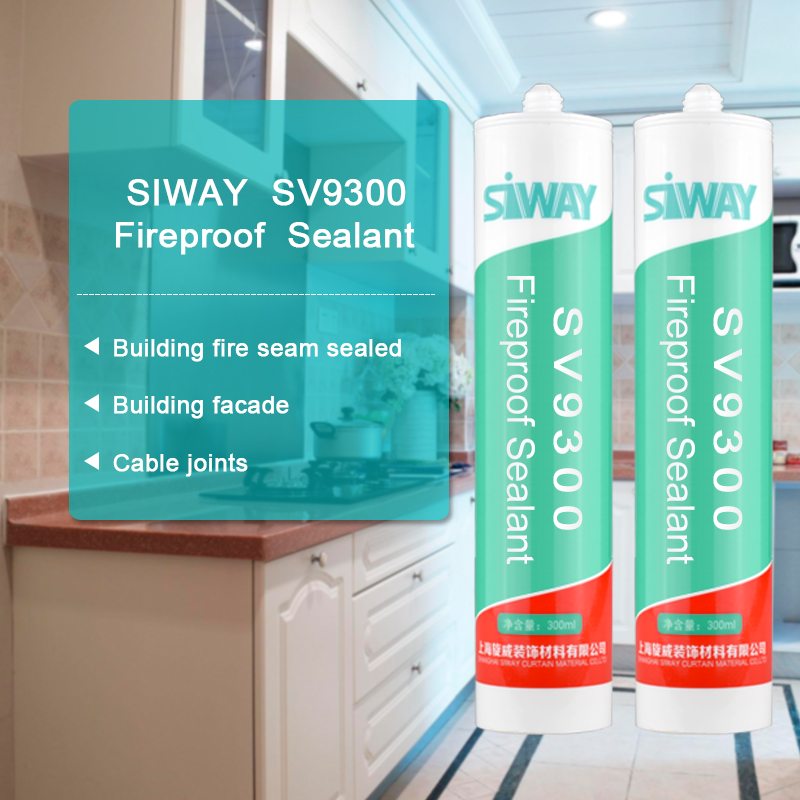
Fast delivery for SV-9300 Fireproof silicone sealant to Turkey Manufacturers
Short Description:
Description SV – 9300 Fire resistant silicone sealant is a one-component, neutral-curing silicone sealant exhibiting superior performance in applications where sealing openings in walls and floors are needed to control the spread of fire, smoke, toxic gasses, and water during fire conditions. Where to use It is an ideal material designed for use in fire-stop systems for through penetrations and joints. This product excels in applications where greater water resistance is required e.g. ...
All we do is always associated with our tenet " Customer first, Trust first, devoting on the food packaging and environmental protection for Fast delivery for SV-9300 Fireproof silicone sealant to Turkey Manufacturers, Standing still today and looking into the future, we sincerely welcome customers all over the world to cooperate with us.
Description
SV – 9300 Fire resistant silicone sealant is a one-component, neutral-curing silicone sealant exhibiting superior performance in applications where sealing openings in walls and floors are needed to control the spread of fire, smoke, toxic gasses, and water during fire conditions.
Where to use
It is an ideal material designed for use in fire-stop systems for through penetrations and joints. This product excels in applications where greater water resistance is required e.g. curtain wall, building facade, expansion/pipe and cable joints.
Key Features
1. 100% silicone
2. Excellent weatherproofing and waterproofing
3. Low gas transmission rate
4. With highly efficient redundant
Basic Application
1.Building fire seam sealed
2.Building façade
3.cable joints
Technical data sheet
| Test standard | Test project | Unit | value |
| Before curing——25℃,50%R.H. | |||
| GB13477 | Flow, sagging or vertical flow | mm | 0 |
| GB13477 | Operating time | min | 15 |
| GB13477 | surface drying time(25℃,50%R.H.) | min | 40-60 |
| Sealant curing speed and operating time will have different with different temperatures and temperature, high temperature and high humidity can make sealant curing speed faster, rather low temperature and low humidity are slower.21 days after curing——25℃,50%R.H. | |||
| GB/T 531.1-2008 | Durometer Hardness | Shore A | 20-60 |
| GB13477 | 60% elongation of cementation | no damaging | |
| GB13477 | Elongation limit | % | 120 |
| GB/T 24267 | Sealant level | 20HM | |
| GB/T 24267 | Fire prevention level | FV-0 | |
Certification
GB/T 24267-2009
Color
Black
Package
300ml in cartridge * 24 per box
Shelf life
12 months
Note
If you want the TDS or MSDS or other details, please contact with our sales person.
https://www.ScraPerfect.com Permanent and very durable temporary tapes (like duct, carpet, and waterproof foil tape can leave a residue that is very difficult to remove. We suggest you try the Best Cleaner Ever™ from ScraPerfect to make the job easy! Canadian Technical Tape (made by Tuck) warns “Permanent usage only, may leave red residue if removed.” But watch this video and see the red dissolve. The Best Cleaner Ever™ is people safe and earth friendly so it’s safe for skin, has no fumes, and is biodegradable.
Watch the full episode: https://www.youtube.com/watch?v=RVCfwHxIblA
This Old House general contractor Tom Silva helps a homeowner install a rain gutter, downspout, and rain barrel. (See below for a shopping list, tools, and steps.)
Click here to SUBSCRIBE to the official This Old House YouTube channel: https://www.youtube.com/subscription_center?add_user=thisoldhouse
Shopping List for Installing a Rain Gutter:
- Aluminum gutter
- Aluminum downspout
- Aluminum elbows, end caps, mounting straps, and downspout outlet
- Gutter hanging brackets, for securing the gutter to the house
- Sheet metal screws, used to fasten together the gutter and downspout parts
- Gutter sealant, for creating waterproof connections between gutter parts
- Two 2-inch-thick concrete pavers, used to create a solid base for the rain barrel
- Rain barrel and diverter, used to collect rainwater
Tools List for Installing a Rain Gutter:
- Chalk line
- Tape measure
- Drill/driver
- Level
- Caulk gun
- Crimping tool
- Hacksaw and tin snips
- Hammer and cold chisel (or hole saw), used to cut a hole in the gutter
- Ladder
Steps for Installing a Rain Gutter:
1. Snap a chalk line across the fascia, creating the proper pitch toward the downspout end.
2. Measure the fascia to determine the length of the gutter.
3. Apply gutter sealant to an end cap, then press the cap onto one end of the gutter.
4. Secure the end cap to the gutter with a crimping tool.
5. Use a hacksaw and tin snips to cut the gutter to length.
6. Use a hammer and a cold chisel (or a hole saw) to cut a round hole in the gutter for a downspout outlet.
7. Apply gutter sealant to the flange of the downspout outlet, then screw the outlet to the hole in the gutter.
8. Temporarily screw the gutter to the fascia, positioning it about 2 inches below the chalk line.
9. Install hanging brackets onto the gutter, positioning one in front of each rafter.
10. Raise the gutter to the chalk line and fasten each hanging bracket by screwing through the fascia and into the rafter tail.
11. Set two 2-inch-thick concrete pavers on the ground directly below the downspout outlet.
12. Set a rain barrel on top of the concrete pavers.
13. Use a hacksaw to cut and assemble the downspout and elbows.
14. Screw the upper end of the downspout to the downspout outlet protruding from the gutter.
15. Fasten the downspout to the house with mounting straps.
16. Install a diverter in the downspout, positioning it even with the top of the rain barrel.
17. Attach a short length of downspout to the underside of the diverter.
18. Connect the diverter’s flexible hose to the port on the side of the rain barrel.
Follow This Old House and Ask This Old House:
Facebook: https://www.facebook.com/ThisOldHouse
Twitter: https://twitter.com/thisoldhouse
https://twitter.com/asktoh
Pinterest: https://www.pinterest.com/thisoldhouse/
G+: https://plus.google.com/+thisoldhouse/posts
Instagram: https://instagram.com/thisoldhouse
Tumblr: https://thisoldhouse.tumblr.com/


