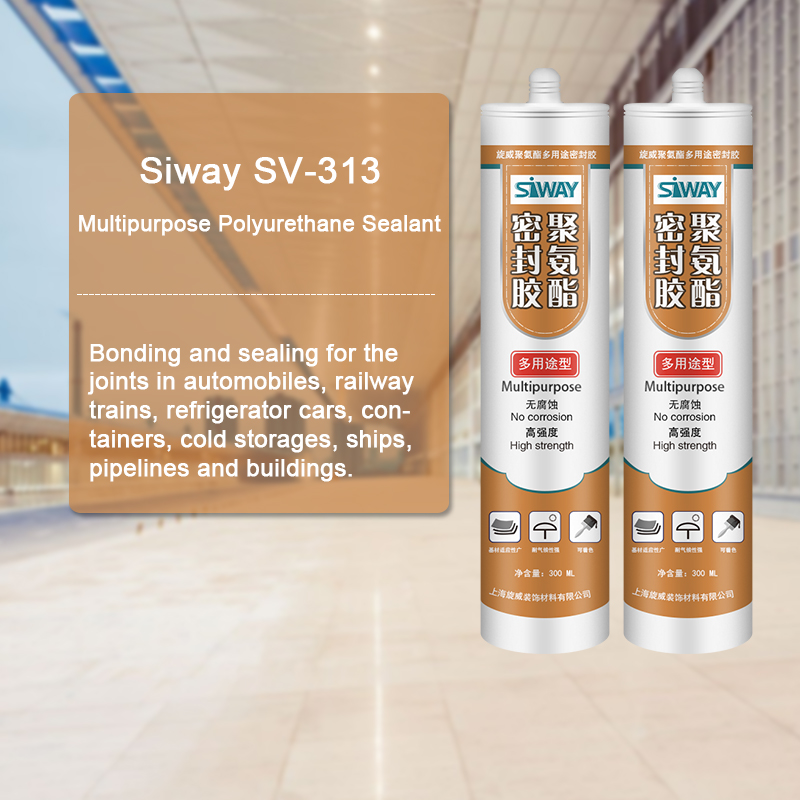
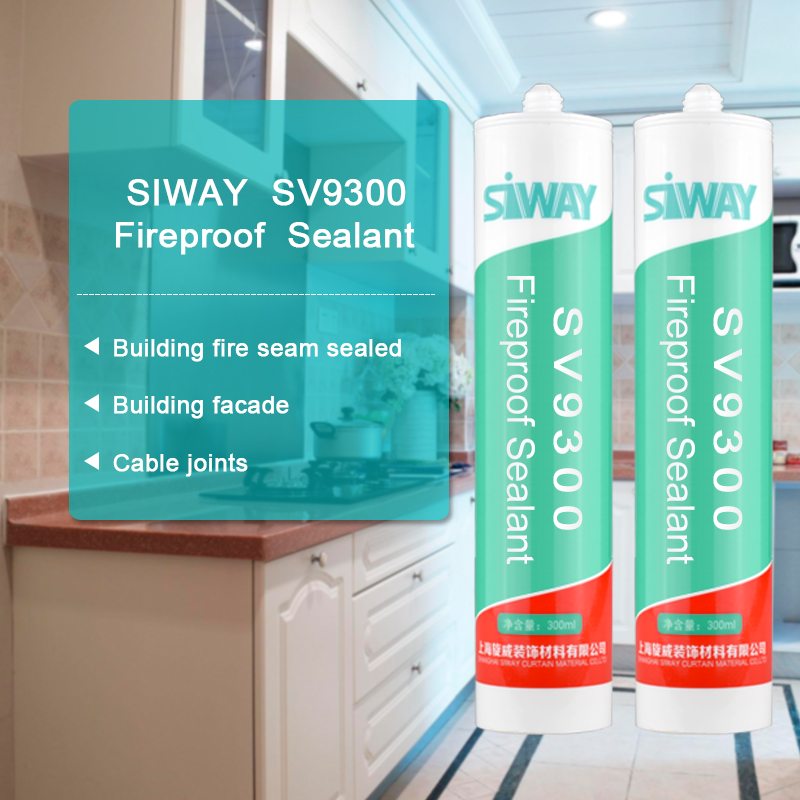
Factory Promotional SV-995 Neutral Silicone Sealant for Turin Importers
Short Description:
Description SV – 995 neutral silicone sealant structure is a kind of one-component, construction curtain wall structure of room temperature curing glue, can be used in all kinds of curtain wall joints and waterproof seal, also can be used for all kinds of aluminum alloy, glass doors and Windows seal assembly Where to use 1.Curtain wall joints and waterproof seal 2.Aluminum alloy, glass doors and Windows seal assembly Key Features 1. 100% silicone 2. Easy to use 3. Waterproofing and...
Our products are widely recognized and trusted by users and can meet continuously developing economic and social needs for Factory Promotional SV-995 Neutral Silicone Sealant for Turin Importers, We are sincerely looking forward to establishing good cooperative relationships with customers from at home and abroad for creating a bright future together.
Description
SV – 995 neutral silicone sealant structure is a kind of one-component, construction curtain wall structure of room temperature curing glue, can be used in all kinds of curtain wall joints and waterproof seal, also can be used for all kinds of aluminum alloy, glass doors and Windows seal assembly
Where to use
1.Curtain wall joints and waterproof seal
2.Aluminum alloy, glass doors and Windows seal assembly
Key Features
1. 100% silicone
2. Easy to use
3. Waterproofing and weatherproofing
4. Fast curing speed, high strength
5. 12.5% movement capability
Technical data sheet
| Test standard | Test project | Unit | value |
| Before curing——25℃,50%R.H. | |||
| GB13477 | Flow, sagging or vertical flow | mm | 0 |
| GB13477 | surface drying time(25℃,50%R.H.) | min | 30 |
|
GB13477 |
Operating time | min | 20 |
| Curing time(25℃,50%R.H.) | Day | 7-14 | |
| Sealant curing speed and operating time will have different with different temperatures and temperature, high temperature and high humidity can make sealant curing speed faster, rather low temperature and low humidity are slower.21 days after curing——25℃,50%R.H. | |||
| GB13477 | Durometer Hardness | Shore A | 40 |
| GB13477 | The ultimate tensile strength | Mpa | 0.8 |
| GB13477 | Movement capability | % | 12.5 |
Color
Black,White,Gray
Package
300ml in cartridge * 24 per box, 590ml in sausage *20 per box
Shelf life
12 months
Note
If you want the TDS or MSDS or other details, please contact with our sales person.
Here’s how to adjust the primary chain on a Harley-Davidson Evolution Big Twin motorcycle. See my FXR at https://www.hoohoohoblin.com/Harley-DavidsonFXR.html Inspecting and adjusting an Evolution Harley-Davidson Big Twin motorcycle engine primary chain is pretty simple, and you don’t need any fancy specialized tools to do it. You might as well change the primary oil while you’re in there as well. To adjust the primary chain, remove the shift lever if your bike has one that passes through the primary chain case, remove the left foot peg, remove the primary chain inspection cover, and then measure the deflection of the chain to make sure it is between 5/8″ and 7/8″ (16 to 22mm) at its tightest point. You’ll need to rotate the primary chain and check it a few times to find the tightest point. Harley-Davidson primary chains sometimes wear unevenly, so it is important that you check tension of the primary chain in different positions. To tighten the primary chain, loosen the nut on the motorcycle’s primary chain tensioner and move it upwards. then tighten the nut and measure the chain deflection again. Once you’ve adjusted it properly, replace the inspection cover. Harley-Davidson mechanics told me that putting some silicone on the o-ring on the plastic tube the gear shift rod passes through will stop the primary oil from leaking out near the shifter, so I recommend doing that when you put it back together. If you use silicone, make sure you allow enough time for it to dry before you take your Harley-Davidson Evolution Big Twin motorcycle for a ride.
This post cover Polyethylene Water Tank Repair – Crack. We show you how to repair a crack in a Polyethylene Water Tank, but the same method can be used for anything made of polyethylene, including canoes, kayaks, or anything else.
The Tank
I bought two 1550-gallon polyethylene tanks that I found on Craig’s list. I bought both for $450, which is about half of what one tank costs. Both tanks needed a little repair, but it was still a good deal. This post covers how to repair a crack. I’ll do another post in the future on how to repair a hole or gouge.
The Crack
The crack that I’m working on looks like it happened by an object hitting the tank and creating the crack with one half of the cracked piece knocked inward.
Clean
The first step was to clean the tank. I did this with a brush, water, and mild dish soap. I washed the outside of the tank just like I would a car. This prevents dirt and debris from getting into the repaired area. On the inside, the tank had some sand in it. I took my shop vac in and vacuumed up all of the dirt on the inside and wiped down the repair area with a wet rag.
Level the Crack
The next step is to level the crack. The two pieces on either side of the crack do not line up, so I stuck a screwdriver in the crack and pried the inner piece out to line up with the outer piece.
The Welder
They make a kit for welding polyethylene. I bought my kit from Amazon and it cost just over $100. I’ll include a link to that below. The welding kit is like a big hot soldering iron with sticks of polyethylene that you use to fill in gaps.


