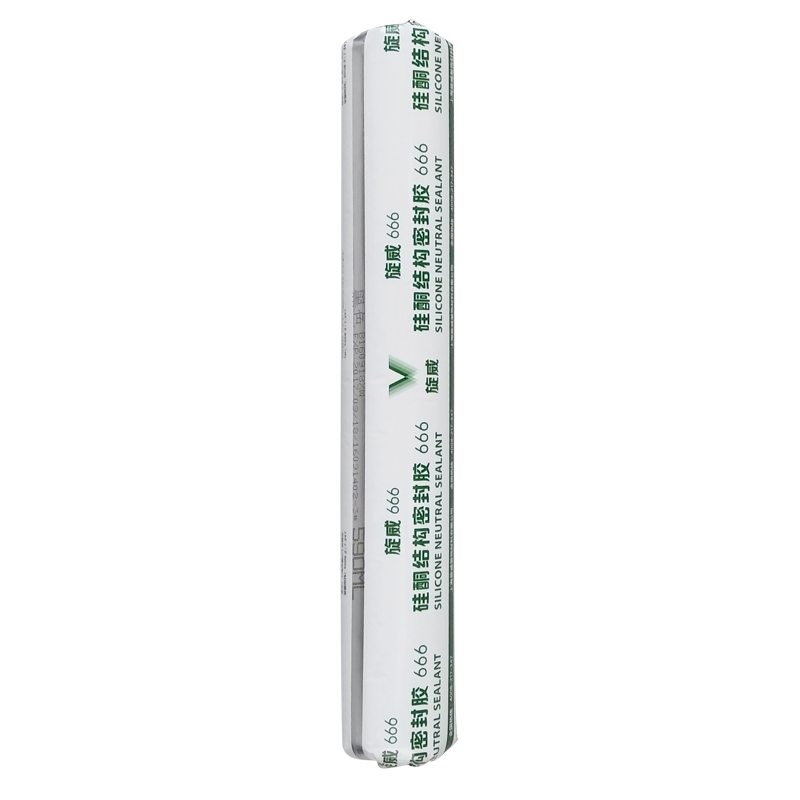
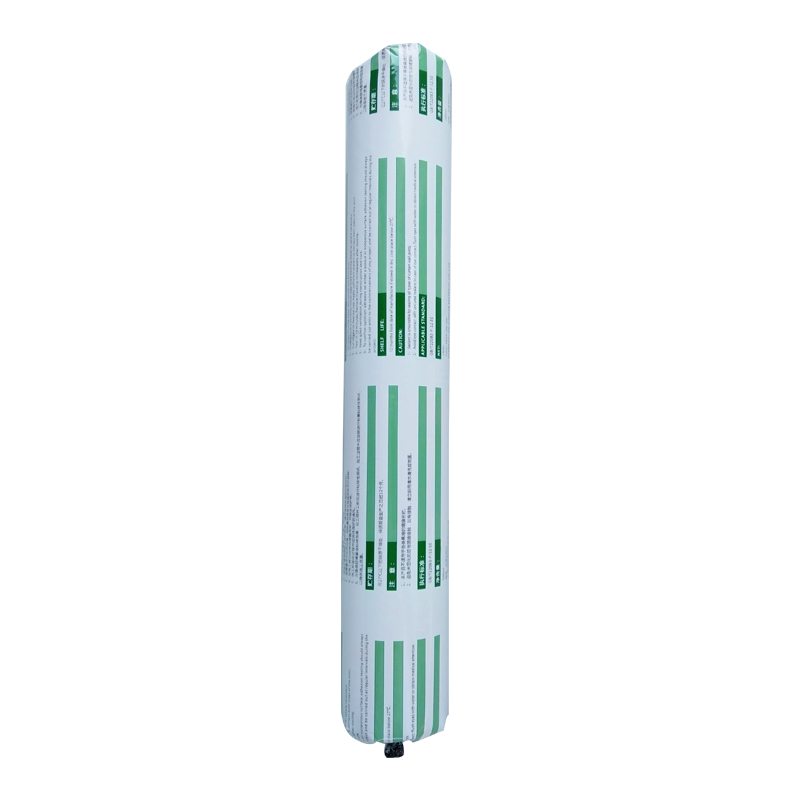
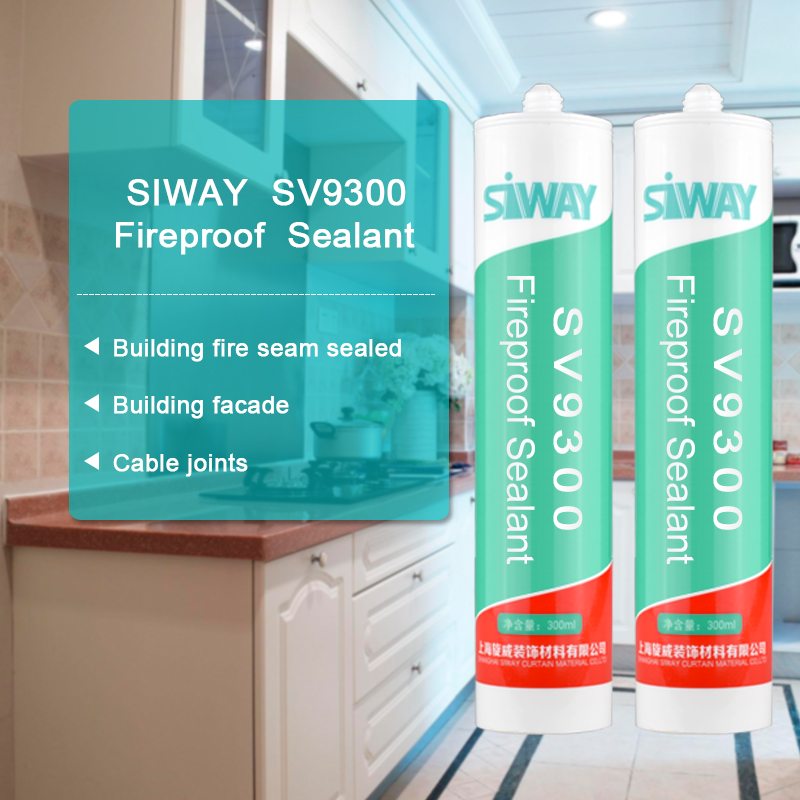
Factory Promotional SV-666 General Use Neutral Sealant for Peru Factory
Short Description:
Description SV-666 neutral silicone sealant is a neutral curing glue single component, the modulus of the. It is specially designed for windows and doors caulking sealing general plastic doors and windows. It has good adhesion to glass and aluminum alloy, and has no corrosion. Where to use It is fit for multiple purpose sealing and bonding applications to form a silicone rubber adhering to adjacent substrates e.g. glass, ceramic, tile, wood and metal. Key Features 1. 100% silicone 2. Eas...
The company keeps to the operation concept "scientific management, high quality and efficiency primacy, customer supreme for Factory Promotional SV-666 General Use Neutral Sealant for Peru Factory, Adhering to the business principle of mutual benefits, we have won good reputation among our customers because of our perfect services, quality products and competitive prices. We warmly welcome customers from home and abroad to cooperate with us for common success.
Description
SV-666 neutral silicone sealant is a neutral curing glue single component, the modulus of the. It is specially designed for windows and doors caulking sealing general plastic doors and windows. It has good adhesion to glass and aluminum alloy, and has no corrosion.
Where to use
It is fit for multiple purpose sealing and bonding applications to form a silicone rubber adhering to adjacent substrates e.g. glass, ceramic, tile, wood and metal.
Key Features
1. 100% silicone
2. Easy to use
3. Waterproofing and weatherproofing
4. Primerless adhesion to most building materials
5. 12.5% movement capability
Technical data sheet
| Test standard | Test project | Unit | value |
| Before curing——25℃,50%R.H. | |||
| GB13477 | Flow, sagging or vertical flow | mm | 0 |
| GB13477 | surface drying time(25℃,50%R.H.) | min | 30 |
|
GB13477 |
Operating time | min | 20 |
| Curing time(25℃,50%R.H.) | Day | 7-14 | |
| Sealant curing speed and operating time will have different with different temperatures and temperature, high temperature and high humidity can make sealant curing speed faster, rather low temperature and low humidity are slower.21 days after curing——25℃,50%R.H. | |||
| GB13477 | Durometer Hardness | Shore A | 28 |
| GB13477 | The ultimate tensile strength | Mpa | 0.7 |
| Temperature stability | ℃ | -50~+150 | |
| GB13477 | Movement capability | % | 12.5 |
Certification
JC/T881-2001 12.5E;GB/T14683-2003 12.5E
Color
Black,White,Gray
Package
300ml in cartridge * 24 per box, 590ml in sausage *20 per box
Shelf life
12 months
Note
If you want the TDS or MSDS or other details, please contact with our sales person.
This video provides step-by-step repair instructions for replacing the door boot seal on an Electrolux washing machine. The most common reason for replacing the boot seal is if the washer is leaking water.
Buy part #134616100 now: https://www.repairclinic.com/PartDetail/1482856?TLSID=1873
Additional washing machine repair, troubleshooting tips, help with finding your model number and part replacement videos can be found on our website:
https://www.repairclinic.com/RepairHelp/Washing-Machine-Repair-Help?TLSID=1873
All of the information for this door boot seal replacement video is applicable to the following brands:
Electrolux
Tools needed: Phillips head screwdriver, #2 square bit, needle nose pliers
Buy the Multi-Bit Screwdriver used in this video: https://www.repairclinic.com/PartDetail/3527472?TLSID=1873
Buy the pliers used in this video: https://www.repairclinic.com/PartDetail/3527482?TLSID=1873
Connect With Us!
https://plus.google.com/+repairclinic
https://www.facebook.com/RepairClinic
https://www.twitter.com/RepairClinic
https://pinterest.com/RepairClinic/
Join our free VIP email list for discounts and money-saving tips: https://tinyurl.com/pnnh3be
Check out our blog: https://www.DIY.RepairClinic.com
Don’t forget to like and comment on this video, and subscribe to our channel!
Other related videos:
How to strip and repair tap gland-seal
How to stop a monobloc tap outlet leaking (emergency repair)
Earlier today I noticed some water on the floor near the kitchen sink so opened the unit and saw a bit of a leak from the main stopcock that controls flow of water from rising main into the house. Water was dripping from the gland seal. Unfortunately since this is the main way of turning off the water supply* I couldn’t isolate the actual stopcock which ironically is the isolating valve for the cold water supply. So as this was an emergency repair I had to use PTFE tape which is a product that everyone should have in their toolkit.
Anyway – to carry out emergency repair;
Turn off the stopcock and remove handle by unscrewing the cross-head screw in the end of shaft.
Loosen off the gland seal retainer collar. The leak will worsen so put some old rags around it to mop up spills.
Try to extract the old gland packing which is either rubber, fibre or leather. If the tap is in awkward place or the old seal is rock hard and too tight to remove, you then have to wrap several turns of PTFE tape around the shaft as near to the gland seal as possible.
Now using a flat screwdriver and carefully push the tape right down into the gland seal (or what’s left of it)
Now install the gland seal retainer collar and tighten it up.
Now turn on the stopcock or tap/faucet and check for leaks. Ideally the old seal/packing is removed first but in the real world that sometimes doesn’t happen. If there’s still no leaks after a few hours then chances are you’ve fixed the problem. This is a ‘temporary repair’ so ultimately you will have to fit a new stopcock/tap/valve at some point. A useful tip is to regularly cycle any water supply valves, taps etc fully open and closed to keep them from sticking open or shut. Do this twice a year. Taps tend to seize more when they are fully open so it’s good practice to open them fully then back them off half a turn so the internal valve seat isn’t hard against the end stops.
*If the main water supply stop valve is leaking you’ll either need a pipe freezing kit or hope there is a main water supply cut-off along with the water meter or supply from the mains water. Worth making a note of where the stopcocks and other valves are located on your property.


