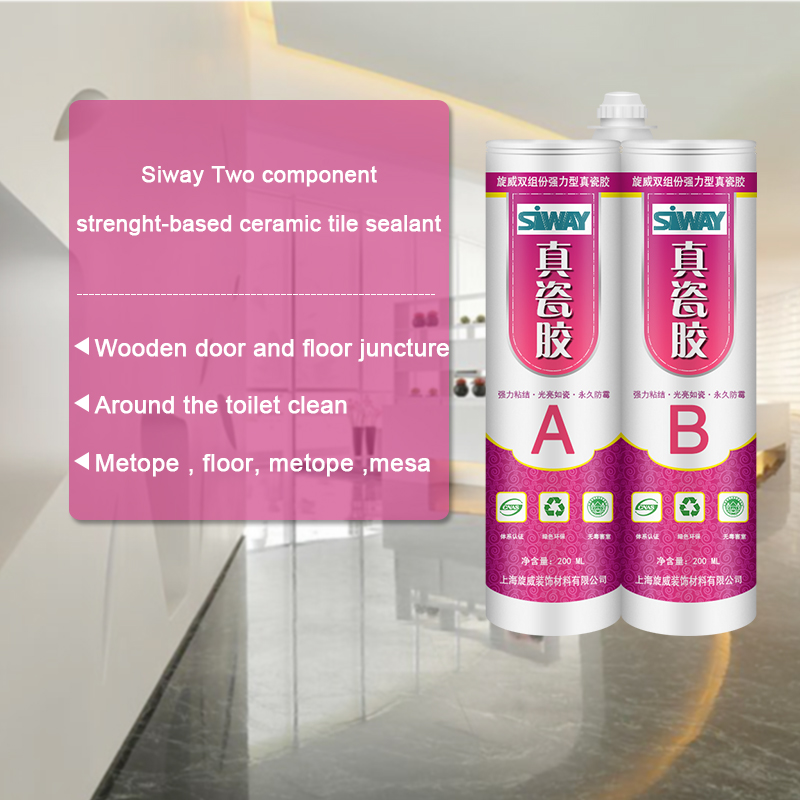
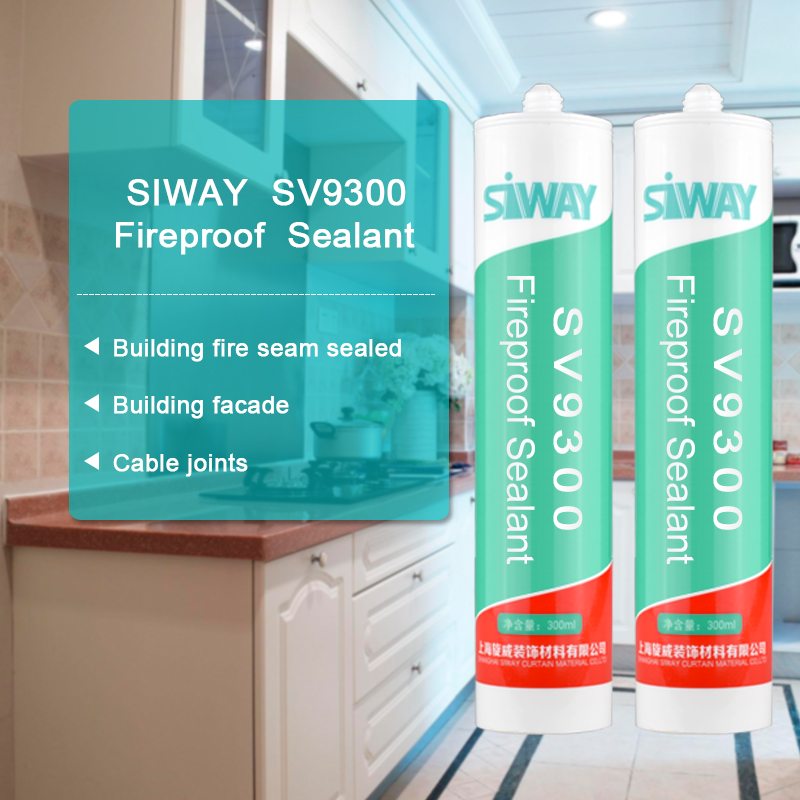
Factory Outlets SV-8800 Silicone Sealant for Insulating Glass for Austria Factory
Short Description:
Description SV-8800 is two components, high modulus; neutral curing silicone sealant specifically developed for assembly of high performance insulated glass units as secondary sealing material. Where to use It is a two-component silicone that offers variable work life with high bonding strength to maintain the integrity of insulating glass unit, suits both commercial and residential IGU. Key Features 1. High Modulus 2. UV resistance 3. Low vapor and gas transmission 4. Primerless adhesion...
With this motto in mind, we have become one of the most technologically innovative, cost-efficient, and price-competitive manufacturers for Factory Outlets SV-8800 Silicone Sealant for Insulating Glass for Austria Factory, We look forward to establish a long-term business relationship with your esteem co-operation.
Description
SV-8800 is two components, high modulus; neutral curing silicone sealant specifically developed for assembly of high performance insulated glass units as secondary sealing material.
Where to use
It is a two-component silicone that offers variable work life with high bonding strength to maintain the integrity of insulating glass unit, suits both commercial and residential IGU.
Key Features
1. High Modulus
2. UV resistance
3. Low vapor and gas transmission
4. Primerless adhesion to coated glass
5. 100% compatible to SV-8890
Technical data sheet
| Test standard | Test project | Unit | value |
| Before curing——25℃,50%R.H. | |||
| GB13477 | Specific gravity(After mixing) | 1.33 | |
| GB13477 | Operating time | min | 20-40 |
| GB13477 | surface drying time(25℃,50%R.H.) | min | 80-188 |
| corrosivity | No | ||
| 7 days after curing——25℃,50%R.H. | |||
| GB/T 531 | Durometer Hardness | Shore A | 40 |
| GB13477 | The tensile modulus at 12.5% elongation | Mpa | 0.18 |
| The ultimate tensile strength | Mpa | 0.92 | |
| GB13477 | Elongation limit (fracture) | % | 150 |
Certification
GB-24266-2009;
Color
Component A(Base) – White, Component B(Catalyst)- Black
Package
1. Component A(Base): (190L), Component B(Catalyst) (18.5L)
2. Component A(Base):24.5kg (18L), Component B(Catalyst): 1.9kg (1.8L)
Shelf life
12 months
Note
If you want the TDS or MSDS or other details, please contact with our sales person.
***VISIT OUR SPONSORS***
https://www.traderadiators.com | https://www.grahamplumbersmerchant.co.uk | https://www.buteline.com/uk | https://www.adey.com
***WEBSITE***
https://www.plumberparts.co.uk
***Facebook***
https://www.facebook.com/profile.php?id=100001119410854
***Twitter***
https://twitter.com/#!/plumberparts
This video will tell you how to install a washing machine waste. From drilling a massive hole through the wall to glueing up the PVC solvent weld fitting and creating a water tight seal.
Please subscribe and favourite!
Hold tight, and welcome to today’s plumberparts.co.uk video. I suppose you’re here to disrupt this peaceful time I’ve having in my deck chair. So I can show you how to cut a hole in the wall and install, very successfully, the waste for your washing machine or dishwasher. Let’s go. Hold tight!
Right, so this is the washing machine that we’re all about. There’s waste here, a little bit of water in it. The first thing we do is mark up the situation so we know roughly where we’re gonna put our hole out of the wall. Let’s have a go at that now. Right, so we’re going to look at something, something like that, so our waste can go in at the top, nice and tight, lovely, like that. So, we’re going to be looking to drill a hole somewhere here. So I mark that with a pencil Right, this hole here is just under a window that’s up there. So, what I want to do quickly is take a rough measurement to the bottom of the window, which is about 40 centimetres, and we’ll go outside and make sure that from the bottom of the window, the 40 centimetres, when it comes out, is going to give us an adequate drop down into our main waste, which it does here.
So now, we’re ready to drill our main hole, which generally is an inch and a half size. Now, you’re gonna need core bits for this sort of thing, and a big drill. This is the sort of stuff that only a plumber’s gonna do, really. You’re not gonna do this yourself. So if you’re ever replacing any of the pipe work or anything like that, and there’s already a hole here, just use this video as a quick guide to how to replace the pipe and maybe put a new trap and downpipe in. But for now, we’re gonna drill this hole and it’s gonna be absolutely epic. Right, beautiful, all ready to go! This is just amazing. Now, we’re ready to drill and it’s gonna be completely crazy.
Right, so when you start your hole try and get just a slight downward incline so the water runs out of here. Right, as soon as you get to your diamond bit turn your hammer off because the diamond is just a cutter, right, so that’s just gonna cut through what we’ve got left in there. Now, we know here that the wall depth is about 30 to 35 centimetres. If it was me, I’d cut off an extra 10 centimetres, okay, so you’ve got a good stub sticking out each side. You can cut it down later anyway, but if you have it too short, you’re not gonna get anywhere, are you? So, let’s just cut this piece now. Should measure that out, I’m gonna measure about 45 centimetres. We’ll just cut that like so. I’ve got to say, these cutters are quality, actually, rough and bow cutters. Look at that. So much quicker, and you get such a nice little wee cut here in this beauty.
Pop this through the wall, and now we can start thinking about doing a little bit of pipe work. Right, so I’ve cut a tiny, small stub as well, that’s gonna go in this elbow here. All we need to do is, what I’ve shown you in another video, how to use solvent with fittings. We just do that, place it here, cut our pipe and the solvent will glue. and get a tiny little bit to our stub in there, as well, like this. Now, sit there just like that. Right, so, these actual fittings here, they work in just a standard compression way. As you can see, inside we got a nut here, we got our little washer, and also our sealing washer, here, with a taper on it. So, we’ll tighten this up and put it on, as usual, and then we’ll be ready to drill the brackets that will hold this upright.
Right, now we’ve got that there, we just need to pull our washing machine out so we can slide in our little waste so it’s nice and out of the way. Right, so, now we can bring it all the way up to where we’re going to have it, get ourselves out the spirit level. Make sure it’s on straight, about there, Lovely. Take the spirit level directly up from that one, and just do the same again. This is so goddamn easy.
So, now we’ve got that in there like that. We can get our waste and pop it in the hole just up here like so, and then screw that waste as well, using this screw up here. This screw up here. Just screw that into that bit of wood and that will hold that nice and steady. Um, once you’ve done that, you’ve put the waste and everything, push your washing machine back. We’re pretty much done in this room, now. The only thing you can do later on is test for leaks.
It’s mind-blowing to think this stuff is in our food! Here’s how to make a glowing “magical mud” from ordinary potatoes.
Because of the popularity of this project, I’ve put together a detailed 15 page PDF (https://bit.ly/MagicMudProjectPDF) with step-by-step instructions, Fun Facts, Helpful Hints, and loaded with pictures. I’m selling them to help compensate for my time. You can get the Project PDF here if you’re interested: https://bit.ly/MagicMudProjectPDF
Endcard Links:
Soda Tab Chains: https://goo.gl/RL3WQz
Fuel From Water: https://goo.gl/zZCGEP
Bottle Rockets: https://goo.gl/QCxLVw
Water Weapons: https://goo.gl/iyVPwt
See What Else I’m Up To:
Instagram: https://goo.gl/C0Q1YU
Facebook: https://bit.ly/FBTheKingOfRandom
Pinterest: https://bit.ly/pingrant
Business Inquiries: For sponsorship requests or business opportunities please contact me directly: https://www.youtube.com/thekingofrandom/about
WARNING:
This substance can make quite a mess, so make it in an area that will be easy to clean up. It’s non-toxic, and perfectly ok to eat in small quantities, however, use of video content is at own risk.
Music By: https://www.machinimasound.com (Dust Sucker)
Project Inspired By:
A pots and pans sales presentation. They peeled some potatoes to make us dinner, and I noticed the white residue at the bottom of the dish and asked if I could take it home.
Project History & More Info:
When I realized that potatoes could be chopped up and soaked to leach out the starch, of course the first thing I thought of was making oobleck. My mind was blown when I experimented with this process, and realized the starch would collect at the bottom of the dish, and would stay in place when the water and impurities were poured out.
After only a couple of rinses, it’s amazing to see how pure the starch powder can be. It looks exactly like cornstarch that could be purchased at the store.
I was familiar with the idea of making tonic water glow under UV light, so wondered how it would would mix with the starch powder. The result was very gratifying!


