factory Outlets for SV-9300 Fireproof silicone sealant for Frankfurt Manufacturer
Short Description:
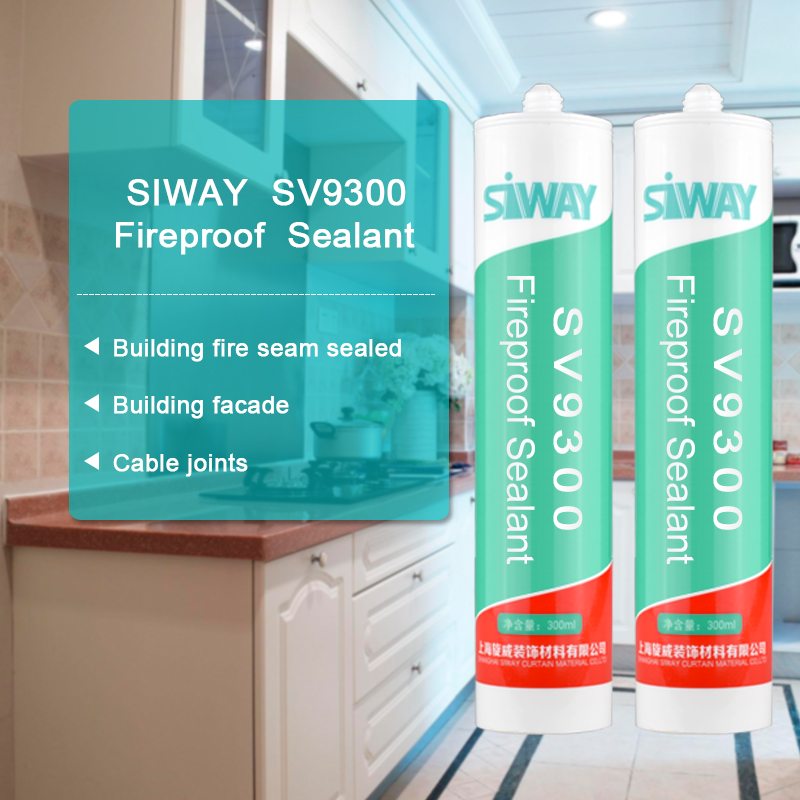
Description SV – 9300 Fire resistant silicone sealant is a one-component, neutral-curing silicone sealant exhibiting superior performance in applications where sealing openings in walls and floors are needed to control the spread of fire, smoke, toxic gasses, and water during fire conditions. Where to use It is an ideal material designed for use in fire-stop systems for through penetrations and joints. This product excels in applications where greater water resistance is required e.g. ...
We also offer product sourcing and flight consolidation services. We have our own factory and sourcing office. We can provide you with almost every type of product related to our product range for factory Outlets for SV-9300 Fireproof silicone sealant for Frankfurt Manufacturer, If you are interested in any of our products or would like to discuss a custom order, please feel free to contact us. We are looking forward to forming successful business relationships with new clients around the world in the near future.
Description
SV – 9300 Fire resistant silicone sealant is a one-component, neutral-curing silicone sealant exhibiting superior performance in applications where sealing openings in walls and floors are needed to control the spread of fire, smoke, toxic gasses, and water during fire conditions.
Where to use
It is an ideal material designed for use in fire-stop systems for through penetrations and joints. This product excels in applications where greater water resistance is required e.g. curtain wall, building facade, expansion/pipe and cable joints.
Key Features
1. 100% silicone
2. Excellent weatherproofing and waterproofing
3. Low gas transmission rate
4. With highly efficient redundant
Basic Application
1.Building fire seam sealed
2.Building façade
3.cable joints
Technical data sheet
| Test standard | Test project | Unit | value |
| Before curing——25℃,50%R.H. | |||
| GB13477 | Flow, sagging or vertical flow | mm | 0 |
| GB13477 | Operating time | min | 15 |
| GB13477 | surface drying time(25℃,50%R.H.) | min | 40-60 |
| Sealant curing speed and operating time will have different with different temperatures and temperature, high temperature and high humidity can make sealant curing speed faster, rather low temperature and low humidity are slower.21 days after curing——25℃,50%R.H. | |||
| GB/T 531.1-2008 | Durometer Hardness | Shore A | 20-60 |
| GB13477 | 60% elongation of cementation | no damaging | |
| GB13477 | Elongation limit | % | 120 |
| GB/T 24267 | Sealant level | 20HM | |
| GB/T 24267 | Fire prevention level | FV-0 | |
Certification
GB/T 24267-2009
Color
Black
Package
300ml in cartridge * 24 per box
Shelf life
12 months
Note
If you want the TDS or MSDS or other details, please contact with our sales person.
If any question or need of the silicone, pls contact with Firleanna freely
hyjb@szrl.net
firleanna@gmail.com
Skype: hy-firleanna
Tel: 86-18938867520
Shenzhen Hong Ye Jie Technology Co., Ltd.
Website: https://www.szrl.net
Watch more How to Go Green at Home videos: https://www.howcast.com/videos/95356-How-to-Fix-Air-Leaks-in-Your-Home
Having a 1/16-inch unsealed crack around a window is like leaving that window open 3 inches. Decrease your heating bill and your energy use by sealing up air leaks.
Step 1: Remove old caulk
Remove all old caulk around the area you’re going to seal with the putty knife. Make sure the surface is clean and dry.
Step 2: Clean area
Use a strong cleaning solution if necessary to remove all grease and grime.
Step 3: Load caulking gun
Cut 1/4 inch off the tip of a caulk cartridge and load it into the caulking gun.
Tip
Caulking guns with an automatic release create much less mess than simple caulk guns and are well worth the extra few dollars.
Step 4: Find cracks
During warm, dry weather (at least 40
Step 5: Fill cracks
Start with the attic and basement. To fix a leak, hold the caulking gun at a 45
Tip
Many different types of caulk are available. Choose one that will bind to all materials you’re filling in. More expensive caulk tends to last longer.
Step 6: Fill joints and frames
If you still feel drafts, fill in joints around windows and doorframes, both inside and outside your house.
Step 7: Fill gaps
Fill in all gaps created by the junction of siding and other materials like the chimney, foundation, and roof. These are common places for air to escape your house’s shell.
Tip
For gaps that are wider than 1/4 inch, use an expanding foam sealant instead of caulk.
Step 8: Choose weather stripping
To make windows and doors more airtight, use weather stripping. Select an appropriate material based on how much wear-and-tear the stripping will experience.
Step 9: Apply weather stripping
Make sure all surfaces to be weather stripped are clean and dry, then measure the length twice and cut the stripping to fit. Make sure the stripping forms a good seal without sticking.
Did You Know?
New energy-efficient windows and doors can save you 25 to 40% on energy costs. That translates into $125 to $450 in savings each year for an average house.


