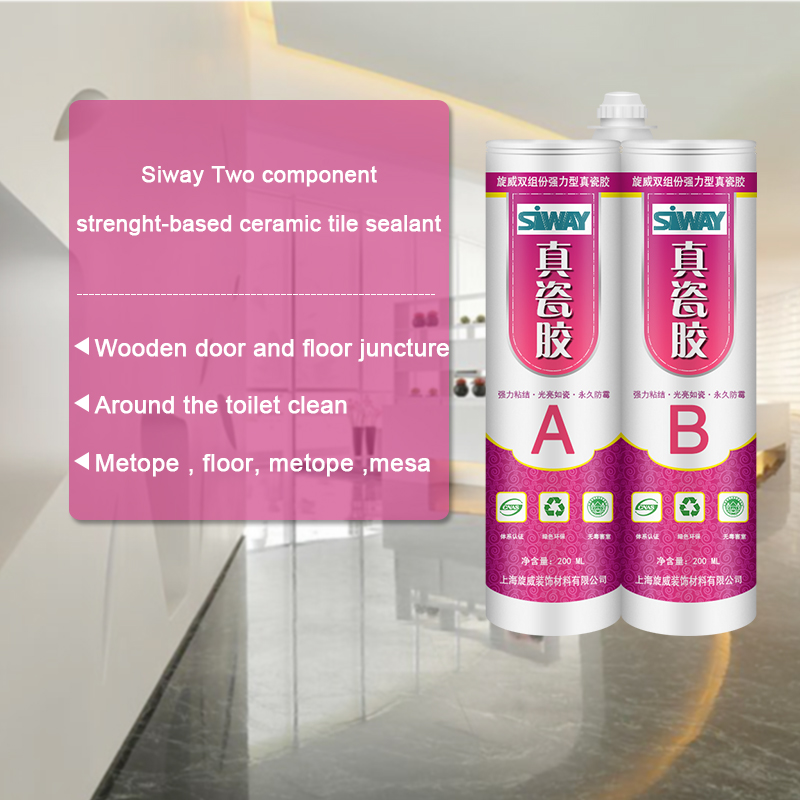
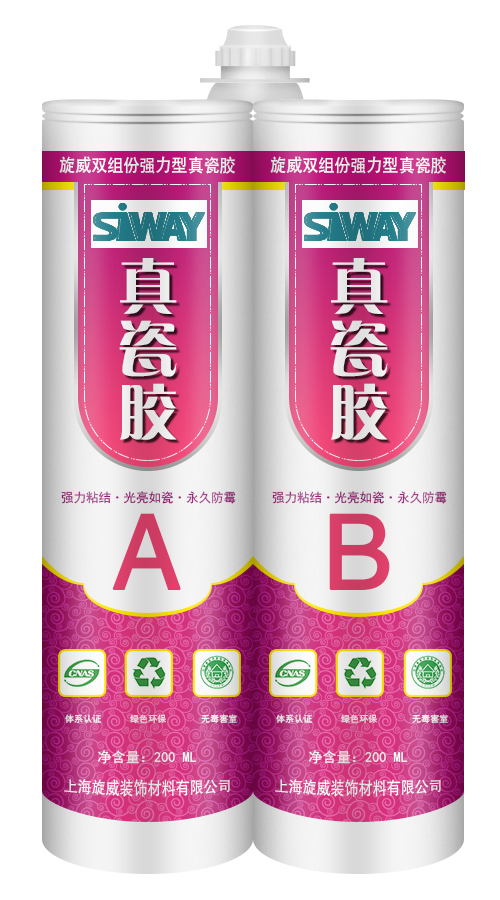
Factory directly provided Siway two component strength-basded ceramic tile sealant Wholesale to Grenada
Short Description:
Product introduction Siway two component strength-basded ceramic tile sealant is an upgraded version of epoxy common beauty gap sealant, excellent toughness and impact resistance, surface brightness, such as porcelain, efficient, durable antibacterial mouldproof, waterproof sealing, 100% do not flow, construction simple, harmful index is far lower than the standard “GB18583-2008″ interior decoration, etc. Is widely used in high-grade kitchen, sanitary ware, high-grade family is de...
As for competitive prices, we believe that you will be searching far and wide for anything that can beat us. We can state with absolute certainty that for such quality at such prices we are the lowest around for Factory directly provided Siway two component strength-basded ceramic tile sealant Wholesale to Grenada, We welcome new and old customers from all walks of life to contact us for future business relationships and mutual success!
Product introduction
Siway two component strength-basded ceramic tile sealant is an upgraded version of epoxy common beauty gap sealant, excellent toughness and impact resistance, surface brightness, such as porcelain, efficient, durable antibacterial mouldproof, waterproof sealing, 100% do not flow, construction simple, harmful index is far lower than the standard “GB18583-2008″ interior decoration, etc. Is widely used in high-grade kitchen, sanitary ware, high-grade family is decorated in joint seal and hotel decoration,, without excitant or unpleasant smell, in use process to bring you new construction concept and aesthetic effect.
Note: the position of construction
1, metope and floor, metope and mesa, and side beams and floor juncture
2, square face plate around the seams with mesa
Around 3, round face and mesa juncture, circular beams and floor juncture
4, around the toilet clean and floor juncture
5, wooden door and floor juncture
In 6, the tub edge or metope seams with mesa
Scope of application
1, window, furniture and so on, all kinds of counter aperture, cabinets, all kinds of edges, kitchen toilet all kinds of edges, can also be used to paste all kinds of hard materials.
In 2, the guesthouse, hotel, family bath crock, implement, sink, shower room and xiancai basins of installation, waterproof, plugging and other kitchen ware and decorative processing.
Method of use
1, clean the construction surface, remove dirt, oil and other impurities, then along the hem the ceramic tile with crepe paper.
2, mount rubber mouth, combined with glue gun, glue mouth mouth before the glue to glue on the glue, the glue liquid located in cement mix, edging out front a small amount of adhesive solution, in order to avoid mixed uneven, lead to not curable, and then into the ceramic tile aperture.
3, scrape to evenness with blade, slight trim the edges.
4, this product operation time 30 minutes, 4-6 hours at 25 ℃ room temperature curing, 24 hours of maximum intensity.
So far this is the most extensive demolition we’ve done on the RV. We are suiting up and preparing for the worst: mold. Our hazmat suits include respirator masks, eye protection, long sleeves, and gloves. Once we dig in, we discover the water damage is more pervasive than we anticipated. We tackle 4 separate areas including the bedroom wall and ceiling, both sides of the over cab, and a wall behind the passenger seat.
We tear into the water-damaged areas and remove the rotted paneling, wood framework and moldy insulation – which allows those spots to dry. We also use a natural and effective homemade tea tree oil spay to destroy mold spores. Here is a link to the recipe we used: https://brightnest.com/todos/learn-how-to-kill-mold-naturally
Before we can move onto the next step–reframing and rebuilding– we must remove ALL of the damage and give the areas enough time to fully dry out.
NOTE: The first step in treating water damage in your RV is NOT removing the damage, it’s stopping the leak. Once you’re sure that the leak is no longer active, you can begin the demo process – the fun part ![]() ! We re-sealed the roof with a self-leveling LAP sealant prior to tackling this project.
! We re-sealed the roof with a self-leveling LAP sealant prior to tackling this project.
As you’ve seen in other videos, this renovation has been full of surprises and this project is no exception. As we cut into the walls we notice they are stamped with formaldehyde warnings. Formaldehyde is a chemical used to produce wood products – especially those found in pre-manufactured homes and RVs. Exposure to formaldehyde can cause health problems, mostly respiratory issues. Of course this information was unnerving – the RV is our home. Good news: We found a product that can be applied to walls, floors, etc. that stops formaldehyde off-gassing. In a future video, we’ll show you how we combated the problem of formaldehyde in our RV to ensure the air we’re breathing isn’t a toxic hazard.
RENOVATION TIP:
Dampen the moldy areas prior to removing them using a spray bottle of water or a mold-killing tea tree oil mixture (link to recipe above) in order to prevent mold spores from becoming airborne.
If you’d like to support this channel for FREE by doing your normal, everyday shopping, just click on this Amazon link and shop away! ![]() https://www.amazon.com/?tag=duetju20-20
https://www.amazon.com/?tag=duetju20-20
We need your help! This is crucial to the success of our channel. Please SUBSCRIBE, LIKE, COMMENT, and SHARE our videos!
Here are three reasons why your subscription matters…
You get up to date notifications for every new video we release!
It helps others like you find our content more quickly and easily!
You support us as we continue providing consistent, quality content to the world ![]()
Thanks for the love and support!
- Michael and Jenny Justus
Have you ever wondered what it takes to live full-time in an RV? Follow our journey on social media as we search for what it really means to live…
➞ Facebook https://www.facebook.com/duetjustus
➞ Instagram https://www.instagram.com/duetjustus/
➞ Twitter https://twitter.com/duetjustus
➞ Pinterest https://www.pinterest.com/duetjustus/
—————————————————————————————————————-
—————————————————————————————————————-
CAMERA GEAR:
Canon 70d (body only) → https://amzn.to/2ae3gkQ
Canon 18-135 STM lens → https://amzn.to/2eMf6Gs
Canon 10-18 wide angle STM lens → https://amzn.to/2eMcF6C
iPhone 6/6s wide angle/telephoto lenses → https://amzn.to/2eMfvIM
Shotgun mic → https://amzn.to/2ae3pVB
Windscreen → https://amzn.to/2ae4VGW
Tripod → https://amzn.to/2ae3Zmg
Monopod → https://amzn.to/2ae3sAN
Lighting kit → https://amzn.to/2dZW0fz
3-axis motorized gimbal → https://amzn.to/2dEIFs3
—————————————————————————————————————-
—————————————————————————————————————-
RV INFO:
NAME: HaRVey Dent
STYLE: Class C motorhome
YEAR: 1989
MODEL: Yellowstone Camino Classic
LENGTH: 28ft + Hitch and scooter
WEIGHT: 10,000 lb (approx.)
CHASSIS: Ford Econoline Club Wagon (e350)
ENGINE: Ford 460 7.5L V8 engine
ODOMETER: 47,000
MPG: 6.5 (on average)
—————————————————————————————————————-
—————————————————————————————————————-
MUSICAL CREDITS:
Track 1: Blank [NCS Release] by Disfigure
Follow Disfigure:
https://www.youtube.com/user/DisfigureMusic
https://soundcloud.com/disfigureofficial
https://www.youtube.com/user/DisfigureMusic
Track 2: Break Away [NCS Release] by Foria
Follow Foria:
• https://soundcloud.com/foria
• https://twitter.com/ForiaMusic
• https://www.facebook.com/ForiaMusic
• https://www.youtube.com/c/ForiaMusic1
Dap Caulking and How to Caulk a Sink from HandymanTeacher.com with HandymanTeacher Hub Kirkpatrick. Don’t pay someone else frro applying caulking. Learn to do it yourself and save money!


