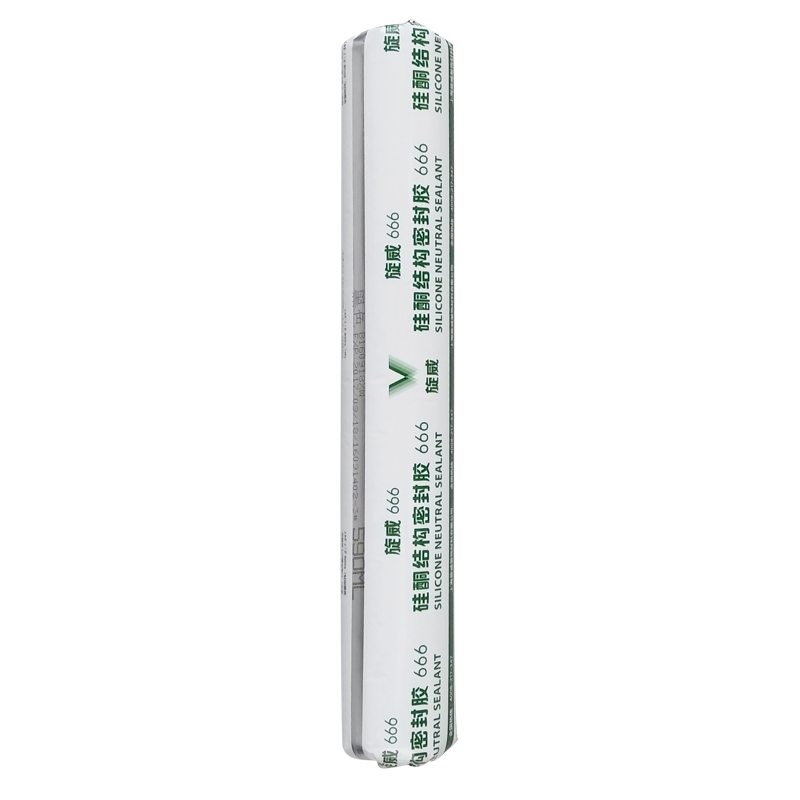
Discountable price SV-666 General Use Neutral Sealant Wholesale to Stuttgart
Short Description:
Description SV-666 neutral silicone sealant is a neutral curing glue single component, the modulus of the. It is specially designed for windows and doors caulking sealing general plastic doors and windows. It has good adhesion to glass and aluminum alloy, and has no corrosion. Where to use It is fit for multiple purpose sealing and bonding applications to form a silicone rubber adhering to adjacent substrates e.g. glass, ceramic, tile, wood and metal. Key Features 1. 100% silicone 2. Eas...
We are also focusing on improving the stuff management and QC system so that we could keep great advantage in the fiercely-competitive business for Discountable price SV-666 General Use Neutral Sealant Wholesale to Stuttgart, We welcome new and old customers from all walks of life to contact us for future business relationships and achieving mutual success!
Description
SV-666 neutral silicone sealant is a neutral curing glue single component, the modulus of the. It is specially designed for windows and doors caulking sealing general plastic doors and windows. It has good adhesion to glass and aluminum alloy, and has no corrosion.
Where to use
It is fit for multiple purpose sealing and bonding applications to form a silicone rubber adhering to adjacent substrates e.g. glass, ceramic, tile, wood and metal.
Key Features
1. 100% silicone
2. Easy to use
3. Waterproofing and weatherproofing
4. Primerless adhesion to most building materials
5. 12.5% movement capability
Technical data sheet
| Test standard | Test project | Unit | value |
| Before curing——25℃,50%R.H. | |||
| GB13477 | Flow, sagging or vertical flow | mm | 0 |
| GB13477 | surface drying time(25℃,50%R.H.) | min | 30 |
|
GB13477 |
Operating time | min | 20 |
| Curing time(25℃,50%R.H.) | Day | 7-14 | |
| Sealant curing speed and operating time will have different with different temperatures and temperature, high temperature and high humidity can make sealant curing speed faster, rather low temperature and low humidity are slower.21 days after curing——25℃,50%R.H. | |||
| GB13477 | Durometer Hardness | Shore A | 28 |
| GB13477 | The ultimate tensile strength | Mpa | 0.7 |
| Temperature stability | ℃ | -50~+150 | |
| GB13477 | Movement capability | % | 12.5 |
Certification
JC/T881-2001 12.5E;GB/T14683-2003 12.5E
Color
Black,White,Gray
Package
300ml in cartridge * 24 per box, 590ml in sausage *20 per box
Shelf life
12 months
Note
If you want the TDS or MSDS or other details, please contact with our sales person.
https://www.ebay.co.united kingdom/itm/251864488045
This video shows you how to successfully re-seal of newly seal your bath using silicone seal. We show you how to prepare the bath and wall and how to smooth out your silicone seal perfectly.
***VISIT OUR SPONSORS***
https://www.traderadiators.com | https://www.grahamplumbersmerchant.co.uk | https://www.buteline.com/uk
***WEBSITE***
https://www.plumberparts.co.uk
Plumberparts.co.uk, Honest reviews and advice.
Hold tight and welcome to today’s plumberparts.co.uk video. Today this is a very very simple video if you do one thing. We’re gonna show you today how to silicone a bath after it’s been installed where the tile is butting down on to the side of the bath like that. That’s pretty much how you usually want them. A lot of the time if the tiler came in first it will be up like that. I mean it’s not a big deal. That’s why siliconing is so important though because it’s the finish of the job it closes seals and it makes the side of the bath watertight. So, let’s have a go at doing that now, this shouldn’t be too hard, you should find it quite easy. If you have any questions or anything like that at the end of the video, just let us know. So, let’s go.
Here is the beautiful bath in question. Now we are going to silicone around there and then back up and around this little piece here. The best thing we could do first, if we do anything else, is close that plug hole, turn these two taps on, and actually fill the bath about, so high. So then the bath is actually in the position it would be when it’s full of water, and it’s stretched these joints along here, so our silicone will go in. When the bath is empty, it will rise back up and fully seal properly. So let’s do that now. (tap running) Obviously make sure that all your surfaces are clean, make sure there’s no dust, any old silicone, or anything like that, before you actually put the silicone on. We’re gonna wait for this to fill up to about half full and then I’ll show you how to apply the silicone and then smooth it off so it looks absolutely amazing. Anyway I think it looks amazing but anyway let’s go. Hold tight. Alright so now the bath water is up to this level. We can now run our first bead of silicone along here. Then you need about of these, use as much as you can. And, as ever, invest in a nice little former. This has got loads of different little angles on it and stuff like that. I don’t know which one I’m gonna go for today but I’m gonna go for one of them obviously. We’ll see how we go, and just smooth it off, use this to rub off all the time. Just take your time, smoothing it off, okay? So as you can see I’m left with a smaller sort of other bead, so I usually like to select a slightly larger former, and just clean that all up. Just go and run along doing that. Til everything’s done. Alright so once you’re done with that you’ve smoothed everything out. We’ve got a beautiful nice seal around there now and after about hours of curing, the shower should be safe to use.
I hope you’ve enjoyed today’s plumberparts.co.uk video and that you especially got that tip about filling up the bath half full before you do any siliconing. Because that is really really important. If you have any more questions or you need any more help or you think we’ve missed anything out, as ever, tell us on this video or you can tweet us, facebook us, or go to our website at plumberparts.co.uk As ever, follow us on twitter and facebook and subscribe to our videos. Hold tight! – Plumberparts.co.uk Honest reviews and advice.


