Competitive Price for SV-9300 Fireproof silicone sealant for Greenland Manufacturers
Short Description:
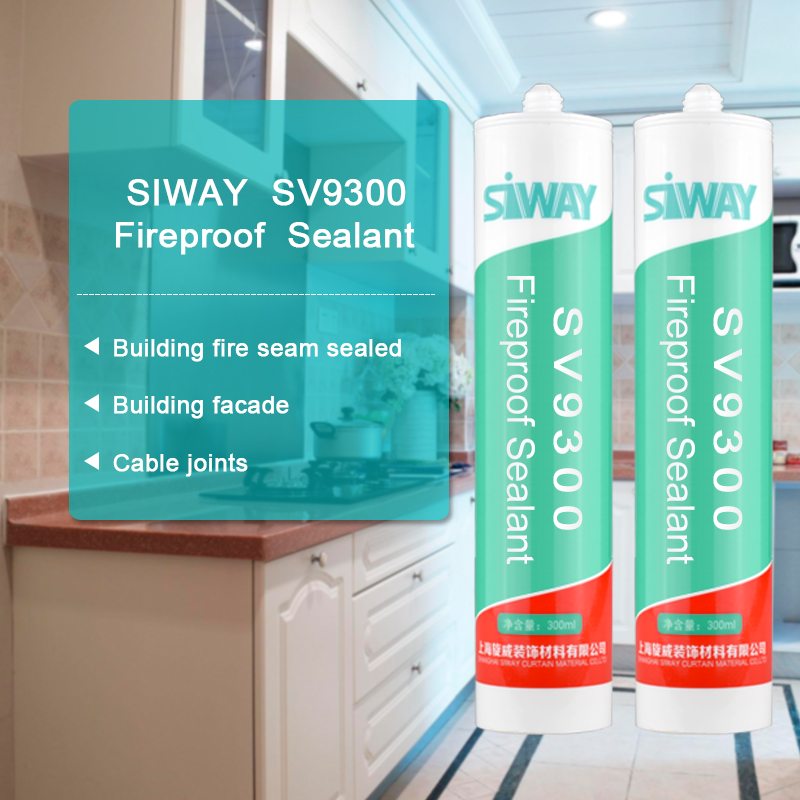
Description SV – 9300 Fire resistant silicone sealant is a one-component, neutral-curing silicone sealant exhibiting superior performance in applications where sealing openings in walls and floors are needed to control the spread of fire, smoke, toxic gasses, and water during fire conditions. Where to use It is an ideal material designed for use in fire-stop systems for through penetrations and joints. This product excels in applications where greater water resistance is required e.g. ...
No matter new customer or old customer, We believe in long term and trusted relationship for Competitive Price for SV-9300 Fireproof silicone sealant for Greenland Manufacturers, If you are interested in our products, please feel free to send us your inquiry. We sincerely hope to establish win-win business relationships with you.
Description
SV – 9300 Fire resistant silicone sealant is a one-component, neutral-curing silicone sealant exhibiting superior performance in applications where sealing openings in walls and floors are needed to control the spread of fire, smoke, toxic gasses, and water during fire conditions.
Where to use
It is an ideal material designed for use in fire-stop systems for through penetrations and joints. This product excels in applications where greater water resistance is required e.g. curtain wall, building facade, expansion/pipe and cable joints.
Key Features
1. 100% silicone
2. Excellent weatherproofing and waterproofing
3. Low gas transmission rate
4. With highly efficient redundant
Basic Application
1.Building fire seam sealed
2.Building façade
3.cable joints
Technical data sheet
| Test standard | Test project | Unit | value |
| Before curing——25℃,50%R.H. | |||
| GB13477 | Flow, sagging or vertical flow | mm | 0 |
| GB13477 | Operating time | min | 15 |
| GB13477 | surface drying time(25℃,50%R.H.) | min | 40-60 |
| Sealant curing speed and operating time will have different with different temperatures and temperature, high temperature and high humidity can make sealant curing speed faster, rather low temperature and low humidity are slower.21 days after curing——25℃,50%R.H. | |||
| GB/T 531.1-2008 | Durometer Hardness | Shore A | 20-60 |
| GB13477 | 60% elongation of cementation | no damaging | |
| GB13477 | Elongation limit | % | 120 |
| GB/T 24267 | Sealant level | 20HM | |
| GB/T 24267 | Fire prevention level | FV-0 | |
Certification
GB/T 24267-2009
Color
Black
Package
300ml in cartridge * 24 per box
Shelf life
12 months
Note
If you want the TDS or MSDS or other details, please contact with our sales person.
Scotty Kilmer, mechanic for the last 46 years, shows how you can fix broken plastic parts on your car rather than replace them. A new type of super glue and a fine powder makes for super strong repair on all kinds of plastic car parts. And, If you like my car help, be sure to watch my live car talk show every Saturday morning at 10 AM CST on YouTube. I answer your car questions LIVE there. Just check it out at https://www.youtube.com/watch?v=VognjkYaMjg&list=UUuxpxCCevIlF-k-K5YU8XPA&feature=c4-overview . And remember, every TUESDAY I upload a new video, so don’t miss them.
Watch more Windows & Window Treatments videos: https://www.howcast.com/videos/434865-How-to-Install-Replacement-Windows
Replacing single-pane windows with double-pane, low-e coated glass can make a house more energy efficient and save you money. Here’s how to install a new unit.
Step 1: Remove the exterior trim
Carefully remove the window frame’s exterior trim using a flat pry bar and a hammer. Then, take out any exposed nails from the window frame.
Step 2: Expose the nailing fin
With a tape measure and pencil, measure and mark a line 1 1/4 inch out from all sides of the existing window frame. Then, set a circular saw to the depth of the house’s siding and cut along the line all the way around the window frame. Remove the cut piece with the pry bar to expose the window’s nailing fin.
Tip
Take out any panels that open, known as active panels, from the old window before removal to make the unit lighter.
Step 3: Remove the old window
Use a hand grinder to remove the heads from any nails in the nailing fin and pry the remaining window unit out from the wall. Pull out or drive down any remaining nails, and use the pry bar to clean out any caulking and debris from the empty window frame.
Step 4: Prepare the opening
Measure from the replacement window’s nailing fin to the interior edge. Add 1/8 inch to this length. Then, measuring from the outside in, mark and draw a line at this new value all the way around the inside of the window opening.
Tip
If the dry wall around the window frame is rotted, make additional adjustments to clear out the damaged area.
Step 5: Cut off the dry wall
Cut completely through the dry wall along the line with a utility knife. Remove the cut strip of dry wall to allow for the replacement window’s deeper setting.
Step 6: Install the new window
Run a 1/4-inch bead of caulk around the opening, about 1/4 of an inch in from the exterior edge. Then, remove the active panels and screen from the replacement window and carefully set the new unit in the frame, pushing it into the caulking.
Step 7: Secure the window
Hammer a 1 1/2-inch galvanized roofing nail into the frame’s top-center nail hole to secure the replacement window. Then, reinstall the active panels, and close and latch the window to keep the window square.
Step 8: Add more nails
Use a level to ensure the window is parallel to the ground; if not, shim the bottom of the window with scrap wood. Finish nailing in the window per the manufacturer’s instructions.
Step 9: Cover the nailing fin
Go outside. Using 6d galvanized box nails, install wood strips around the window. The strips should be 1/8 of an inch thinner than the siding that you removed from around the window to cover the nailing fin.
Step 10: Caulk the outside
Caulk around the outside of the window. Spread and smooth the caulk with a putty knife, filling any voids around the wood strips to waterproof the siding beneath the trim. Then, reinstall the exterior trim, caulk the nail holes, touch up any exterior paint, and reinstall the screen.
Step 11: Finish up
From inside, run a bead of caulk where the window frame meets the drywall, all the way around the new unit. Then, stand back and enjoy the view out of your energy-efficient, replacement windows.
Did You Know?
According to the U.S. government, installing energy-efficient replacement windows can save a household as much $501 per year.


