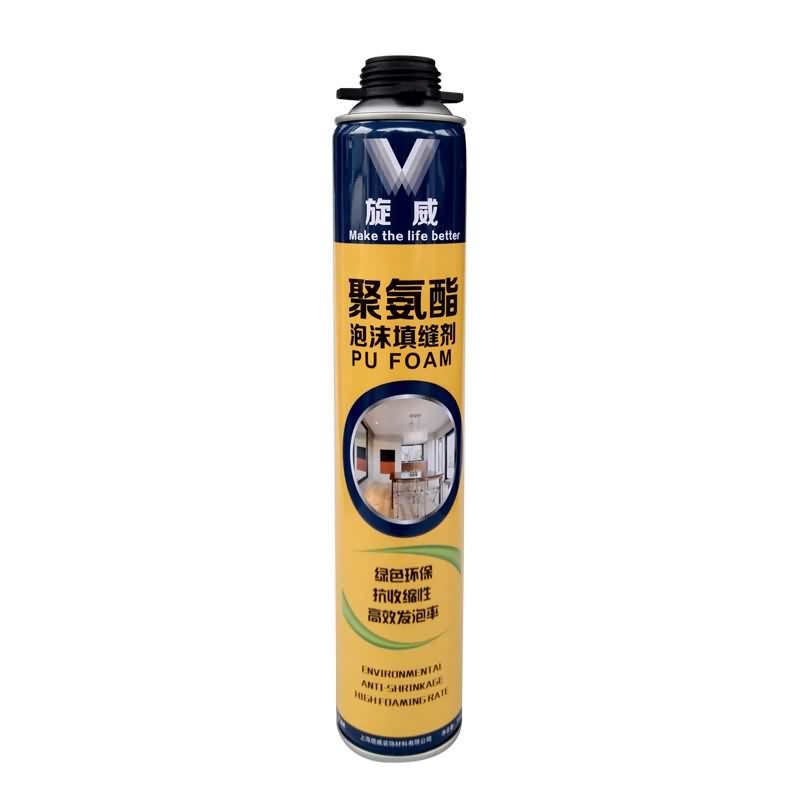
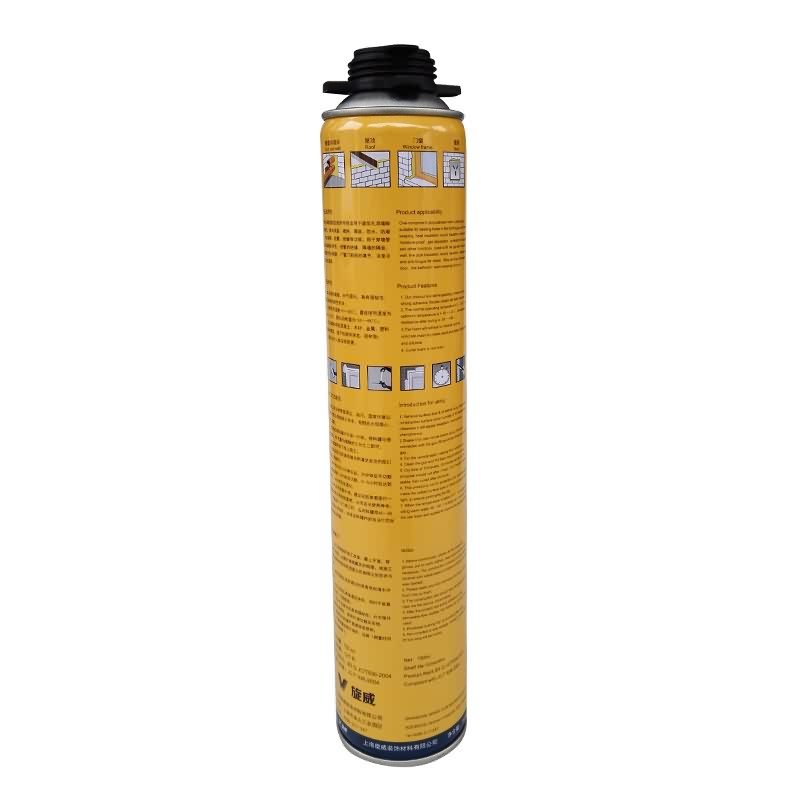
15 Years manufacturer Siway PU FOAM for kazakhstan Manufacturer
Short Description:
Description This product is the expansion, moisture curing, has the strong cohesiveness, elastic foam obturator structure; Save work to save time, reduce waste; High bond strength; Bubble can stick in the concrete, wood, metal, plastic, such as base material surface, but not including teflon, silicon resins; Key Features 1. Noise silencing effect 2. Strong bonding strength 3. Water & weatherproof 4. Primerless adhesion to most building materials Basic Application 1.Doors and Windows a...
Our company promises all users of the first-class products and the most satisfying post-sale service. We warmly welcome our regular and new customers to join us for 15 Years manufacturer Siway PU FOAM for kazakhstan Manufacturer, We fully welcome customers from all over the world to establish stable and mutually beneficial business relationships, to have a bright future together.
Description
This product is the expansion, moisture curing, has the strong cohesiveness, elastic foam obturator structure; Save work to save time, reduce waste; High bond strength;
Bubble can stick in the concrete, wood, metal, plastic, such as base material surface, but not including teflon, silicon resins;
Key Features
1. Noise silencing effect
2. Strong bonding strength
3. Water & weatherproof
4. Primerless adhesion to most building materials
Basic Application
1.Doors and Windows and wall body between the gap filling sealing, fixed bond
2.Language lab, studio, etc when decorating, gap to fill
Technical data sheet
|
Project |
Value |
||
|
Density, Kg/m³,Not less |
10 |
||
|
Thermal conductivity,35℃,W/(m·K) no more than |
0.050 |
||
|
Dimensional stability(23±2)℃,48,h no more than |
5 |
||
|
Operating temperature |
-10~+35℃ |
||
|
Optimum operating temperature |
+18~+25℃ |
||
|
Temperature range(After curing) |
-35~+80℃ |
||
|
Tensile bond strength kPa Not less |
Aluminum plate |
Standard condition,7d |
80 |
|
Immersion,7d |
60 |
||
|
PVC plate |
Standard condition,7d |
80 |
|
|
Immersion,7d |
60 |
||
|
Cement Plate |
Standard condition,7d |
60 |
|
|
Shear strength,kpa,Not less |
80 |
||
|
Foam expansion ratio,Not less |
Standard value-10 |
||
Certification
JC 936-2004
Color
White
Package
750ml in Bottle * 12 per box
Shelf life
12 months
Note
If you want the TDS or MSDS or other details, please contact with our sales person.
https://www.hollywoodhaunter.com/ We share our easy one piece silicone block mold for casting our Halloween stanchion props for the yard haunt. If you would like several stanchion props similar to Disneyland’s haunted mansion to help guide the Trick-Or-Treaters through your haunt and keep them safe than making a mold and casting the decorative tops is the way to go. In this mold making and casting behind the Scenes video you will see a close look at how we made our Halloween Stanchions to keep those little ghouls and goblins trick or treating in an orderly fashion. A way to direct traffic is a must as your yard or home haunts get larger and larger each October. This idea helps keep them out of your yard areas where cables and props could cause injury and is a nice cheaper way to fabricate a lot of one object. We have several animated and pneumatic moving props and the last thing I want is someone in the wrong area so it was time to take action. First we needed a decorative top piece so we looked around for anything that spoke haunted house to us. For example the ones that direct traffic at the Disney haunted mansion are little monster bat decor guys and the chains connect to each of their wings. They are really cool looking and I thought about possibly sculpting them but didn’t have the time. We came across this pine-cone finial for a curtain rod and it was the good enough for us. I cut the metal threaded part off the bottom and sprayed it with a mold release agent. I cut 1/2″ clear plexi glass for my box or mother mold case. You can glue the pieces together but I went ahead and pre-drilled and threaded small flat head screws that could be reused over and over. We used Smooth-on silicone product called Mold Star 15 and poured it over the finial inside the small box and let cure. Then I removed the silicone block from the glass and carefully cut down the side so the pine cone could be removed. Then I drilled a 1/4″ hole in the top lid so I could insert a long bolt with a nut and washer to prevent it from slipping off and inside the mold. Next I mixed some casting plaster poured it inside the mold and then set the lid into place which inserted the bolt into the plaster. Once dry you have a plaster pie-cone that can be mounted to a PVC end cap and attached to a pipe creating the stanchions. Be sure to check out our other skull mold and casting videos!
Thanks for watching, be sure to click Like, Subscribe, and leave Comments and don’t forget to like us on our Facebook page.
Skull Mold & Casting Props
If you would like to see many more prop making videos check out our YouTube Channel https://www.youtube.com/user/HollywoodHaunter
Visit our Facebook Page https://www.facebook.com/HollywoodHaunter
If you found this video helpful or entertaining please give us a thumbs up and be sure to subscribe to our channel.
Thank you so much for watching our video and supporting our channel.
https://www.hollywoodhaunter.com/


