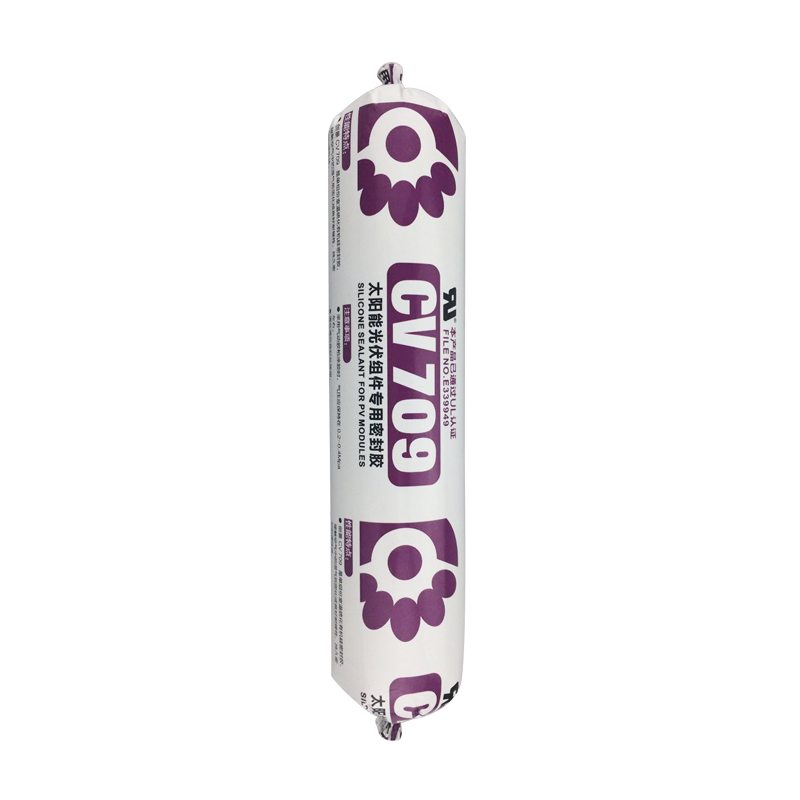
14 Years Factory wholesale CV-709 silicone sealant for PV moudels for Sydney Factories

Short Description:
Description CV709 is a high-performance silicone sealant, one-component oxime type room temperature curing silicone rubber, has excellent weather resistance, high thixotropy, after curing for solar components involved in the base material has good caking property, by TUV for environmental requirements of the ROHS, UL E339949 Key Features 1. 100% silicone 2. No sag 3. high thixotropy 4. Water & weatherproof 5. For solar components involved in the base material has good bonding Basic Ap...
Reliable quality and good credit standing are our principles, which will help us at a top-ranking position. Adhering to the tenet of "quality first, customer supreme" for 14 Years Factory wholesale CV-709 silicone sealant for PV moudels for Sydney Factories, We will supply best quality, the most market competitive price, for every new and old customers with the most perfect green services.
Description
CV709 is a high-performance silicone sealant, one-component oxime type room temperature curing silicone rubber, has excellent weather resistance, high thixotropy, after curing for solar components involved in the base material has good caking property, by TUV for environmental requirements of the ROHS, UL E339949
Key Features
1. 100% silicone
2. No sag
3. high thixotropy
4. Water & weatherproof
5. For solar components involved in the base material has good bonding
Basic Application
1.Solar module frame seal
2.The adhesive of the solar energy back to the terminal block
3.General industrial assembly with seal
Technical data sheet
| Test standard | Test project | Unit | value |
| Before curing——25℃,50%R.H. | |||
| specific gravity | g/ml | 1.34-1.40 | |
| GB13477 | Operating time | min | 15 |
| GB13477 | surface drying time(25℃,50%R.H.) | min | 40-60 |
| 3 days after curing——25℃,50%R.H. | |||
| Temperature range | ℃ | -55~200 | |
| GB13477 | Durometer Hardness | Shore A | 40~55 |
| The ultimate tensile strength | Mpa | ≥2 | |
| GB13477 | Breaking elongation | % | 300-600 |
| Aluminum bonding shear strength | Mpa | ≥1.5 | |
| Electrical properties | |||
| Breakdown voltage | Kv/mm | ≥20 | |
| Volume resistance | ohm.cm | 9E+14 | |
| Dielectric constant | 3.1@50Hz | ||
Certification
UL E339949; TUV
Color
Black, White
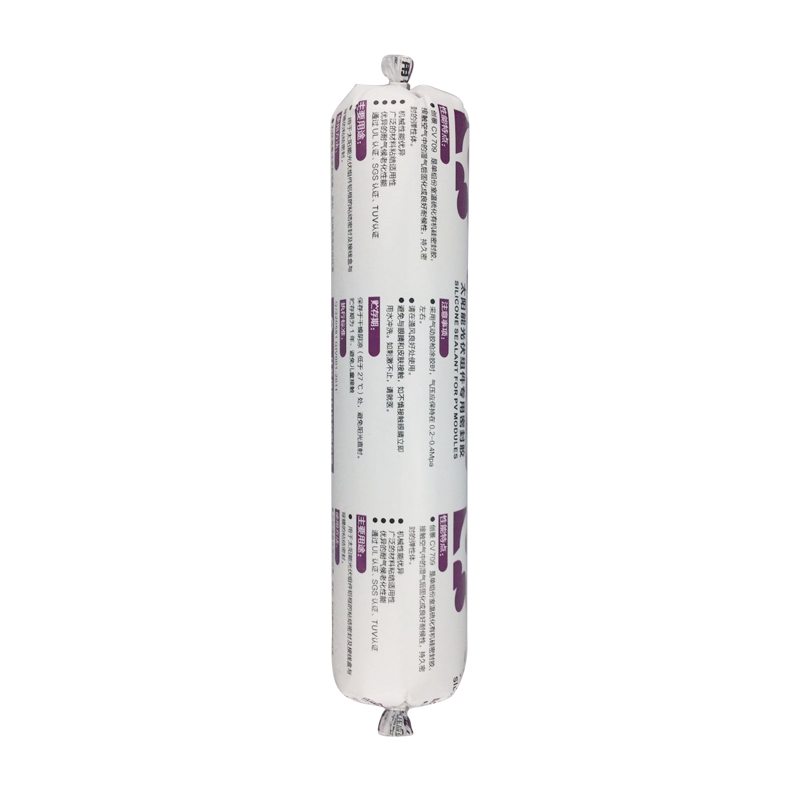
Package
300ml in cartridge * 24 per box, 500ml in sausage *20 per box
Shelf life
12 months
Note
If you want the TDS or MSDS or other details, please contact with our sales person.
If you are looking for a great product for treating your teak deck, teak table or other teak products, then Semco Teak Sealer, from just £20, is without doubt the best product we have seen – so much so that it is the only one we use ourselves. Semco is incredibly simple to apply, has a consistency like water and just takes a couple of minutes to apply with a paint brush, foam brush or even a clean cloth.
Semco Teak Sealer is available in “Natural” or “Honeytone” and in small or large tins. The small is absolutely ideal for coating your new teak table or other smallish furniture, the large is perfect for teak decks and large jobs.
www.marineteak.co.uk
GAF – Mastering The Roof (chapter 09)
This video demonstrates the proper installation technique for GAF starter strips; a superior alternative to starter shingles • Starter strips are important for wind resistance • Use WeatherBlocker or ProStart starter strips.
One of the most common sources of failure in a roof system is the improper installation of starter shingles. This starter course is very important, especially for wind resistance.
GAF offers Pro-Start and WeatherBlocker starter strips that are manufactured with a perforated line. This feature is a real time saver by eliminating the need to manually cut and cleanup shingles tabs.
Along with convenience and savings; the Pro-Start and WeatherBlocker products utilizing advanced Dura Grip adhesive to achieve maximum protection against wind blow-offs. Now that we have covered the importance and benefits of GAF precut starter strips lets take a look at they install.
For shingles exposure less than six inches, the use of either Pro-start or Weatherblocker starter strips can be used. For such applications; begin by separating the strip at the perforated line.
When applying shingles with exposures greater than 6 inches, such as the Camelot collection, only full un-split WeatherBlocker starter strip can be used.
Place the appropriate sized starter strip with the sealant facing up at the eave edge.
For proper water drainage, Both Pro-Start and Weatherblocker starter strip require a one quarter to three quarter inches overhang at all eave and rake edges.
Every Starter strip requires a minimum of four nails driven in a linear fashion one and a half to three inches above the shingle’s bottom edge. Begin with the first nail at a distance of one and a half to three inches from the beginning side edge. Space the remaining three nails ten to twelve inches from the previous nail, and the fourth nail one to two inches from the ending edge.
When installing Metric dimensioned shingles, you must trim five inches off the first WeatherBlocker starter strip or three inches off the first ProStart starter strip. This critical step ensures that the starter strip butt joints and overlapping shingles butt joints are off-set a minimum of four inches. Depending on the length of the shingle being installed, A 10 to12 inch section of starter strip may periodically need to be cut and installed to meet the required 4 inch offset. Fasten the adjustment starter strip with two nails one to two inches from each side end.
For maximum wind resistance, starter strips should be installed along all rake edges. Begin by laying the strip with the sealant side up, closest to the rake edge. Position the starter strip so that it overlaps the eave starter strip by at least three inches. As with the eave edges, the Starter strip must overhang the rake edge one quarter to three quarters of an inch. Begin the line of nail fasteners one to two inches from the side edge of the starter strip, and one and a one half to three inches from the rake edge. Complete the rake edge starter course by nailing along a vertical line every ten to twelve inches up the rake until reaching the ridge.