12 Years manufacturer SV-666 General Use Neutral Sealant Supply to Guyana
Short Description:
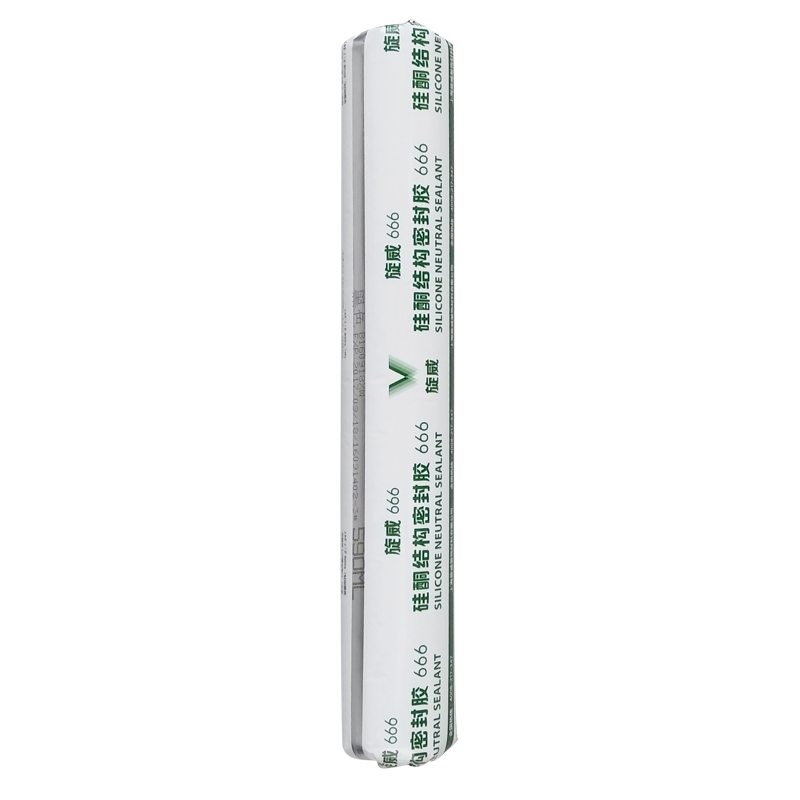
Description SV-666 neutral silicone sealant is a neutral curing glue single component, the modulus of the. It is specially designed for windows and doors caulking sealing general plastic doors and windows. It has good adhesion to glass and aluminum alloy, and has no corrosion. Where to use It is fit for multiple purpose sealing and bonding applications to form a silicone rubber adhering to adjacent substrates e.g. glass, ceramic, tile, wood and metal. Key Features 1. 100% silicone 2. Eas...
In order to give you convenience and enlarge our business, we also have inspectors in QC Team and assure you our best service and product for 12 Years manufacturer SV-666 General Use Neutral Sealant Supply to Guyana, Please send us your specifications and requirements, or feel free to contact us with any questions or inquiries that you may have.
Description
SV-666 neutral silicone sealant is a neutral curing glue single component, the modulus of the. It is specially designed for windows and doors caulking sealing general plastic doors and windows. It has good adhesion to glass and aluminum alloy, and has no corrosion.
Where to use
It is fit for multiple purpose sealing and bonding applications to form a silicone rubber adhering to adjacent substrates e.g. glass, ceramic, tile, wood and metal.
Key Features
1. 100% silicone
2. Easy to use
3. Waterproofing and weatherproofing
4. Primerless adhesion to most building materials
5. 12.5% movement capability
Technical data sheet
| Test standard | Test project | Unit | value |
| Before curing——25℃,50%R.H. | |||
| GB13477 | Flow, sagging or vertical flow | mm | 0 |
| GB13477 | surface drying time(25℃,50%R.H.) | min | 30 |
|
GB13477 |
Operating time | min | 20 |
| Curing time(25℃,50%R.H.) | Day | 7-14 | |
| Sealant curing speed and operating time will have different with different temperatures and temperature, high temperature and high humidity can make sealant curing speed faster, rather low temperature and low humidity are slower.21 days after curing——25℃,50%R.H. | |||
| GB13477 | Durometer Hardness | Shore A | 28 |
| GB13477 | The ultimate tensile strength | Mpa | 0.7 |
| Temperature stability | ℃ | -50~+150 | |
| GB13477 | Movement capability | % | 12.5 |
Certification
JC/T881-2001 12.5E;GB/T14683-2003 12.5E
Color
Black,White,Gray
Package
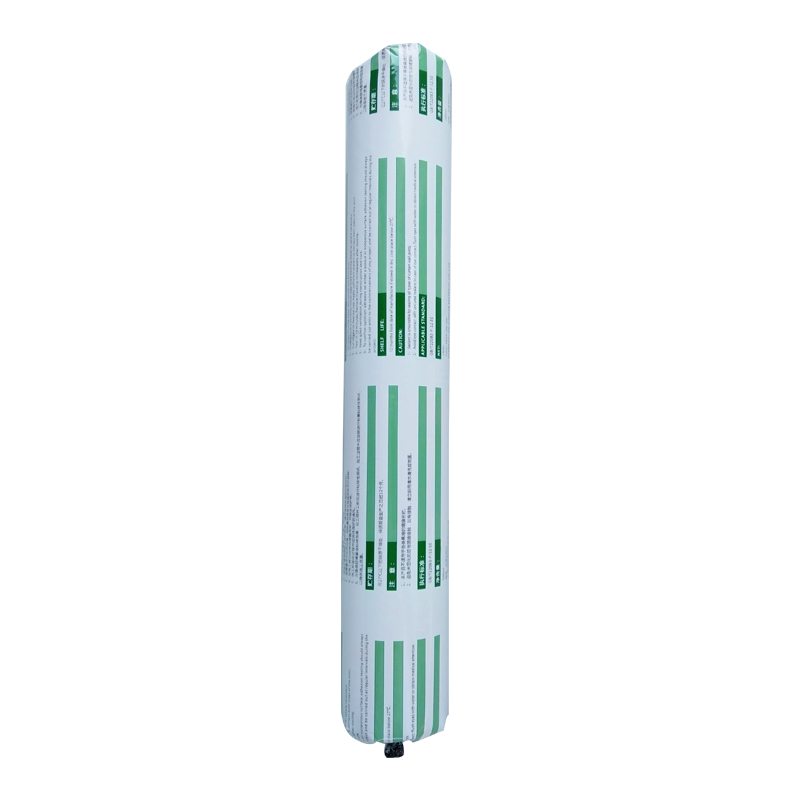
300ml in cartridge * 24 per box, 590ml in sausage *20 per box
Shelf life
12 months
Note
If you want the TDS or MSDS or other details, please contact with our sales person.
https://www.homerepairtutor.com/installing-weather-stripping
This is Jeff from Home Repair Tutor and today I’m going to take you through my step-by-step process for installing weather stripping. This project will boost your home’s efficiency, undo high utility bills, and prevent water from infiltrating through your doors. This could possibly be one of the easiest ways to cut down on high heating and cooling bills. You’ll see that this project doesn’t take many tools and can be done in less than an hour…and check out the numerous tips that will make your installation way easy.
https://www.homerepairtutor.com/installing-weather-stripping
For more tips on home repair & improvement make sure you check out more Home Repair Tutor videos.
And if you want to know how to stop your door from closing or opening by itself (which is totally annoying at best) watch this video now:
In that video I show you how simple it is for anyone with a hammer and screwdriver to keep their doors from magically moving on their own. This is one video you won’t want to miss and literally people have thanked me profusely for the tips.
Or maybe you have a screen door that needs some TLC. Watch this video to get it back on track.
Have a great day!
Jeff
P.S. Use this link to share this video with your friends on Facebook
If you find this video helpful please return the favor and support me efforts at https://www.patreon.com/user?u=370672&alert=1
This is part 4 of a 4 part series on replacing the thru hulls on a Lagoon 38 catamaran.
In Part 4 of the seacock replacement series I show the final installation of the seacock and fittings. In Part 1 I removed the old thru hulls. In part 2 I glassed in some holes left from over from thru hulls that are no longer needed, In Part 3 of the seacock replacement series I show what I did to prepare to install all the new parts including making fiberglass backing plates. I hope someone can take something useful from these. If it helps please hit “like” and please subscribe to see my upcoming videos. Be sure to check out my other sites as well
projectboatzen.com
sailvayu.com
livingaboardzen.com
Thanks
Capt. Wayne


