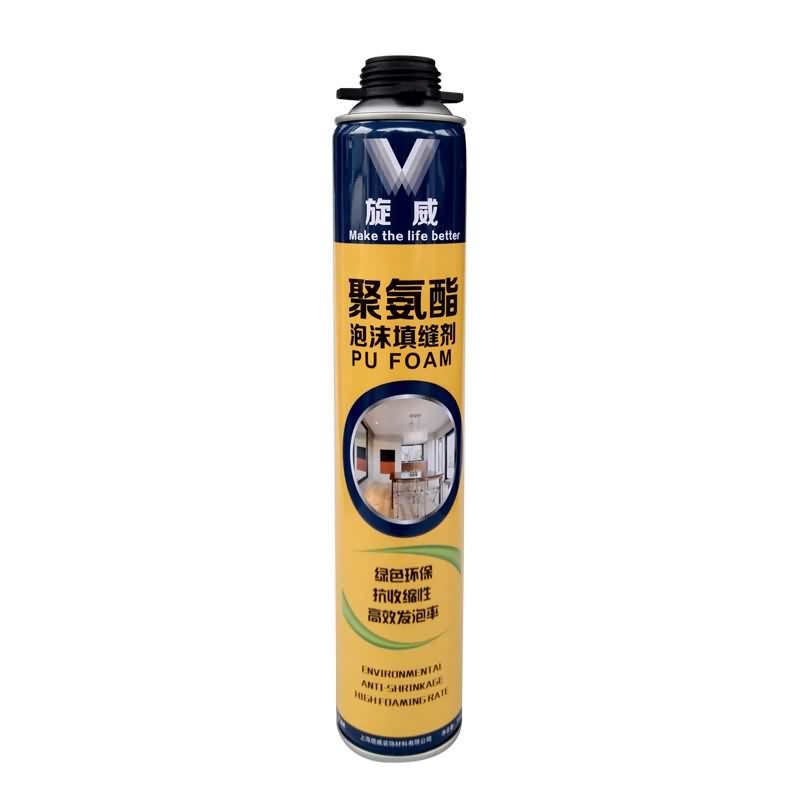
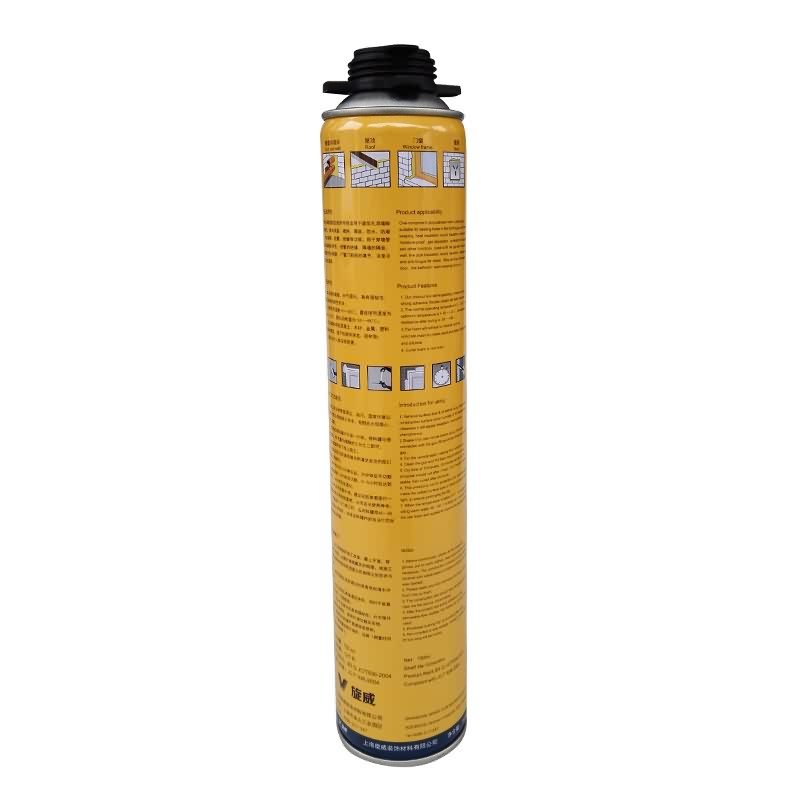
12 Years Factory wholesale Siway PU FOAM for Latvia Factories
Short Description:
Description This product is the expansion, moisture curing, has the strong cohesiveness, elastic foam obturator structure; Save work to save time, reduce waste; High bond strength; Bubble can stick in the concrete, wood, metal, plastic, such as base material surface, but not including teflon, silicon resins; Key Features 1. Noise silencing effect 2. Strong bonding strength 3. Water & weatherproof 4. Primerless adhesion to most building materials Basic Application 1.Doors and Windows a...
The very rich projects management experiences and one to one service model make the high importance of business communication and our easy understanding of your expectations for 12 Years Factory wholesale Siway PU FOAM for Latvia Factories, We warmly welcome customers from all over the world for any kind of cooperation with us to build a mutual benefit future. We are devoting ourselves wholeheartedly to offer customers the best service.
Description
This product is the expansion, moisture curing, has the strong cohesiveness, elastic foam obturator structure; Save work to save time, reduce waste; High bond strength;
Bubble can stick in the concrete, wood, metal, plastic, such as base material surface, but not including teflon, silicon resins;
Key Features
1. Noise silencing effect
2. Strong bonding strength
3. Water & weatherproof
4. Primerless adhesion to most building materials
Basic Application
1.Doors and Windows and wall body between the gap filling sealing, fixed bond
2.Language lab, studio, etc when decorating, gap to fill
Technical data sheet
|
Project |
Value |
||
|
Density, Kg/m³,Not less |
10 |
||
|
Thermal conductivity,35℃,W/(m·K) no more than |
0.050 |
||
|
Dimensional stability(23±2)℃,48,h no more than |
5 |
||
|
Operating temperature |
-10~+35℃ |
||
|
Optimum operating temperature |
+18~+25℃ |
||
|
Temperature range(After curing) |
-35~+80℃ |
||
|
Tensile bond strength kPa Not less |
Aluminum plate |
Standard condition,7d |
80 |
|
Immersion,7d |
60 |
||
|
PVC plate |
Standard condition,7d |
80 |
|
|
Immersion,7d |
60 |
||
|
Cement Plate |
Standard condition,7d |
60 |
|
|
Shear strength,kpa,Not less |
80 |
||
|
Foam expansion ratio,Not less |
Standard value-10 |
||
Certification
JC 936-2004
Color
White
Package
750ml in Bottle * 12 per box
Shelf life
12 months
Note
If you want the TDS or MSDS or other details, please contact with our sales person.
Installation Instructions for an ASI Soundproof Door – High Definition version
The wall that this was installed to was treated with products, too. You can view our video on Soundproofing a Wall (https://www.youtube.com/watch?v=rVtY6MZoFrY) for more information.
https://www.acousticalsurfaces.com/acoustic_doors/soundproof_doors.htm
Tools Needed:
-Level
-Pencil
-Tape Measure
-Utility Knife
-Cordless Drill
-Quart-Size Caulk Gun
-Hammer
-Installation Kit*
-Installation Instructions*
-Heavy Duty Screws*
-Shims*
-Backer Rod*
-Acoustical Sealant*
-Door Hardware Kit*
-Door Casing (One installed on door when shipped, other side comes loose)*
-Door & Jamb*
*Included in Door Purchase (https://bit.ly/qZQjRh)
Make sure to inspect the door and included items for any damage prior to installation.
INSTALLATION INSTRUCTIONS
1. Unscrew the temporary threshold on the bottom of the door.
2. Determine which side of the jamb the hinges will be.
3. Measure and mark hinge locations onto the door frame.
4. Place a set of shims at each hinge, making sure they are plumb with the level.
5. Tip the door into place, make sure all is plumb and level.
6. Remove the two screws in the hinge closest to the door stop.
7. Repeat for each hinge.
8. Prop the bottom corner of the door with it swung at 90 degrees so that it holds the jamb tight to the drywall.
9. Pre-drill the holes from the screws you just removed to prepare for the long screws. (We use a 5/32 bit)
10. From top hinge down, install the included long screws.
11. Adjust shims as necessary to ensure the door stays level.
12. Shim the strike side of the door to get an even reveal on the inside of the door.
13. Install the backer rod around the gap in the rough opening by pushing it in about an inch deep. You can use a shim to push it in.
14. Fill the remaining gap with acoustical sealant.
15. Remove the temporary brace off the bottom of the trim kit.
16. Maintaining a 1/4″ reveal, attach the trim with the supplied screws.
17. Nail trim to wall as needed.
18. Fill holes with wood putty and sand.
19. Remove the short hardware screws that came shipped from the strike side of the door.
20. Replace them with the long screws for the strike hardware to secure the framing.
21. Remove the trim on the hinge side of the door that shipped on the door.
22. Repeat steps 13-18 on this side of the door.
23. Install door hardware as specified.
24. Ensure the door is shut and latched.
25. Adjust the door seals by locating the Phillips screws on the face of the door seal and turn counter-clockwise to tighten the door seal. This will close the gap between the seal and the door.
26. Work the way down the seal until all screws are adjusted so that the seal comes in contact with the door slab.
27. Trim off excess gasket on the strike side of the door jamb at the bottom so that the gasket is flush with the floor.
28. Adjust the bottom drop seal by loosening the set screw at the top of the drop seal counter-clockwise. When the screw engages the stop on the jamb, it will drop the seal down.
29. Peel off the backer on the peel-and-stick seal cover panels and pressure fit over door seals. Start with the top and fit the sides into the miter.
Lezhë – Kanë nisur 11 muaj më parë, por rikonstruksioni i rrugës së lagjes “Nënë Tereza” në qytetin e Lezhës ka mbetur në mes. Muaji gusht është edhe afati i fundit për përfundimin e këtij investimi që financohet nga Banka Islamike, por asnjë mjet dhe punëtor nuk shihet gjatë gjithë segmentit ku do të kryhet ndërhyrja. Vonesa të tilla janë kthyer në modë për Bashkinë e Lezhës, pavarësisht se kush është financuesi.
Banoret e lagjes “Nënë Tereza” në Lezhë nuk besojnë se për rikontruksionin do të zbatohen afatet.
Përpara kësaj situate, qytetarët janë të detyruar të presin fushtën elektorale për zgjedhjet vendore të viti 2015 që të shohin donjë ndryshim në këtë qytet.
Për më shumë klikoni në https://www.oranews.tv/


